In that previous macOS tutorial I showed how to present the save and open panels in AppKit based macOS apps. In this post I’m going to discuss about the exact same topic, but focusing this time on SwiftUI based apps.
Knowing how to present these panels in AppKit it’s the ground in order to achieve the same task in SwiftUI. Therefore, if you don’t know already how save and open panels are being configured and presented, then I would advice to read the previous post before continuing reading here.
In that previous post I used a simple text editor as a demonstrative application. A similar one is what I’ll use here too, but this time made in SwiftUI.
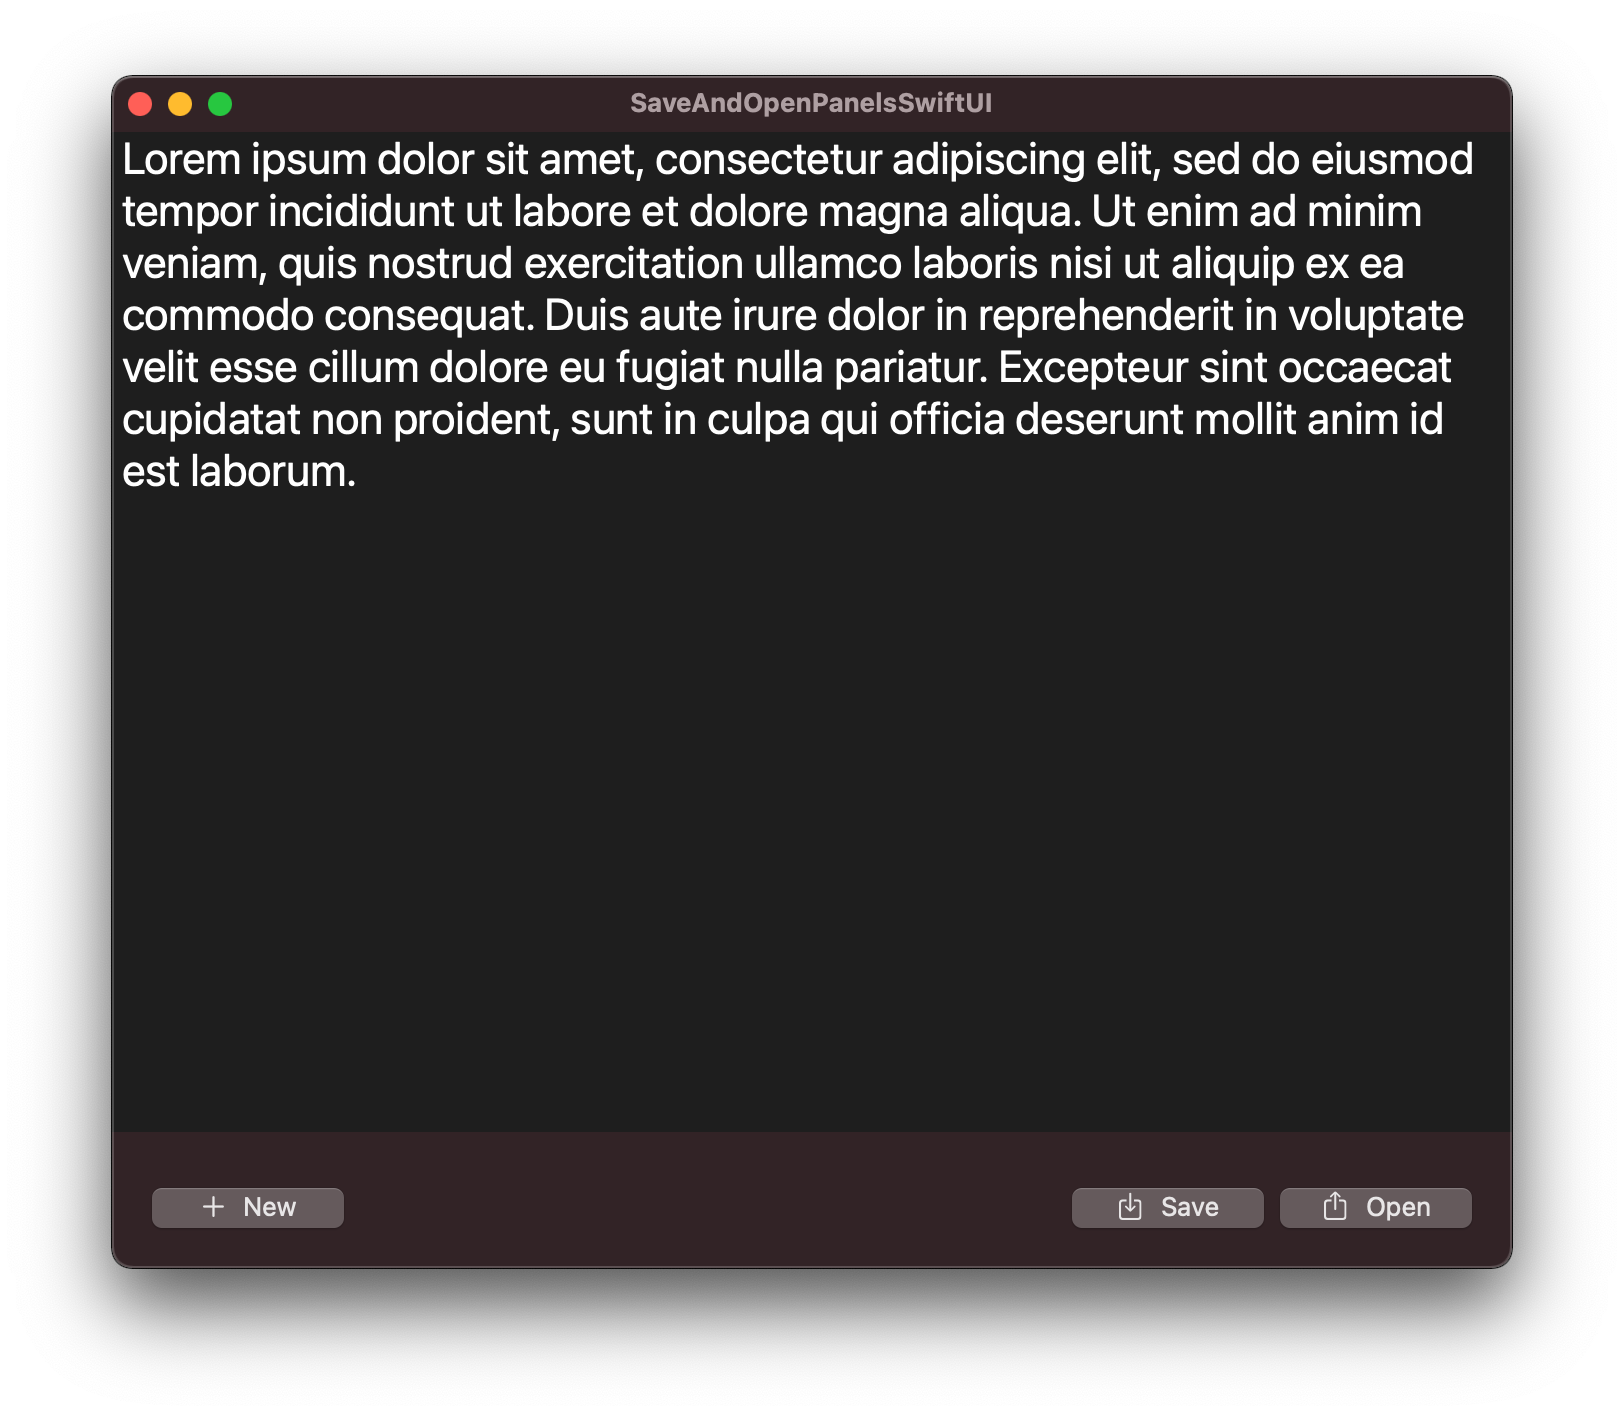
It contains a text editor view to edit text, a button to start a new text, and two buttons in order to save and open text respectively. The purpose in this post is to show what it takes for making the last two functional.
The save panel
The first thing you should be aware about is that there is no native SwiftUI save panel. That means that turning to AppKit is the only resort in order to present it.
Normally, one would expect to create a custom type that would be conforming either to NSViewRepresentable or NSViewControllerRepresentable protocol; a type that embeds an AppKit view or view controller respectively to SwiftUI. However, doing so is not the case here. And that’s because the save panel is an NSPanel, a special kind of a window (NSWindow); it’s not a view, nor a view controller.
But as it turns out, that fact makes it much easier to present the save panel eventually. Displaying it modally is the exact same task both in AppKit and SwiftUI! The reason is that a NSWindow is the container of all SwiftUI views. So presenting both save and open panels modally does not need any effort.
With that information in mind, let’s see how to present the save panel. In order to keep things simple and organized, the best thing to do is to create a separate method just for that purpose. In that method we can initialize, configure and finally present the save panel. The code shown right next is taken from the previous tutorial, where everything is being explained there:
|
1 2 3 4 5 6 7 8 9 10 11 12 |
func showSavePanel() -> URL? { let savePanel = NSSavePanel() savePanel.allowedFileTypes = [“txt”] savePanel.canCreateDirectories = true savePanel.isExtensionHidden = false savePanel.allowsOtherFileTypes = false savePanel.title = “Save your text” savePanel.message = “Choose a folder and a name to store your text.” savePanel.nameFieldLabel = “File name:” } |
Notice that the return value of the method is an optional URL value. When users click on the Save button, then the target directory along with the chosen file name is the return value. But if users simply dismiss the save panel, then nil is what will be returned.
However, the above lines just initialize and configure the save panel. To present it and eventually return the selected URL requires to add the next two lines:
|
1 2 3 4 5 6 7 8 |
func showSavePanel() -> URL? { … let response = savePanel.runModal() return response == .OK ? savePanel.url : nil } |
The first one presents the save panel modally. The second returns either the selected URL where text should be saved as a file to, or nil if the panel was simply dismissed.
The above method must be called in the save button’s action closure. With the URL handy it’s then possible to write to a file:
|
1 2 3 4 5 6 7 8 9 |
Button(action: { let saveURL = showSavePanel() writeText(to: saveURL) }, label: { … }) |
writeText(to:) is another method that using the given URL performs the actual writing to file.
The modally presented save panel is shown right below:
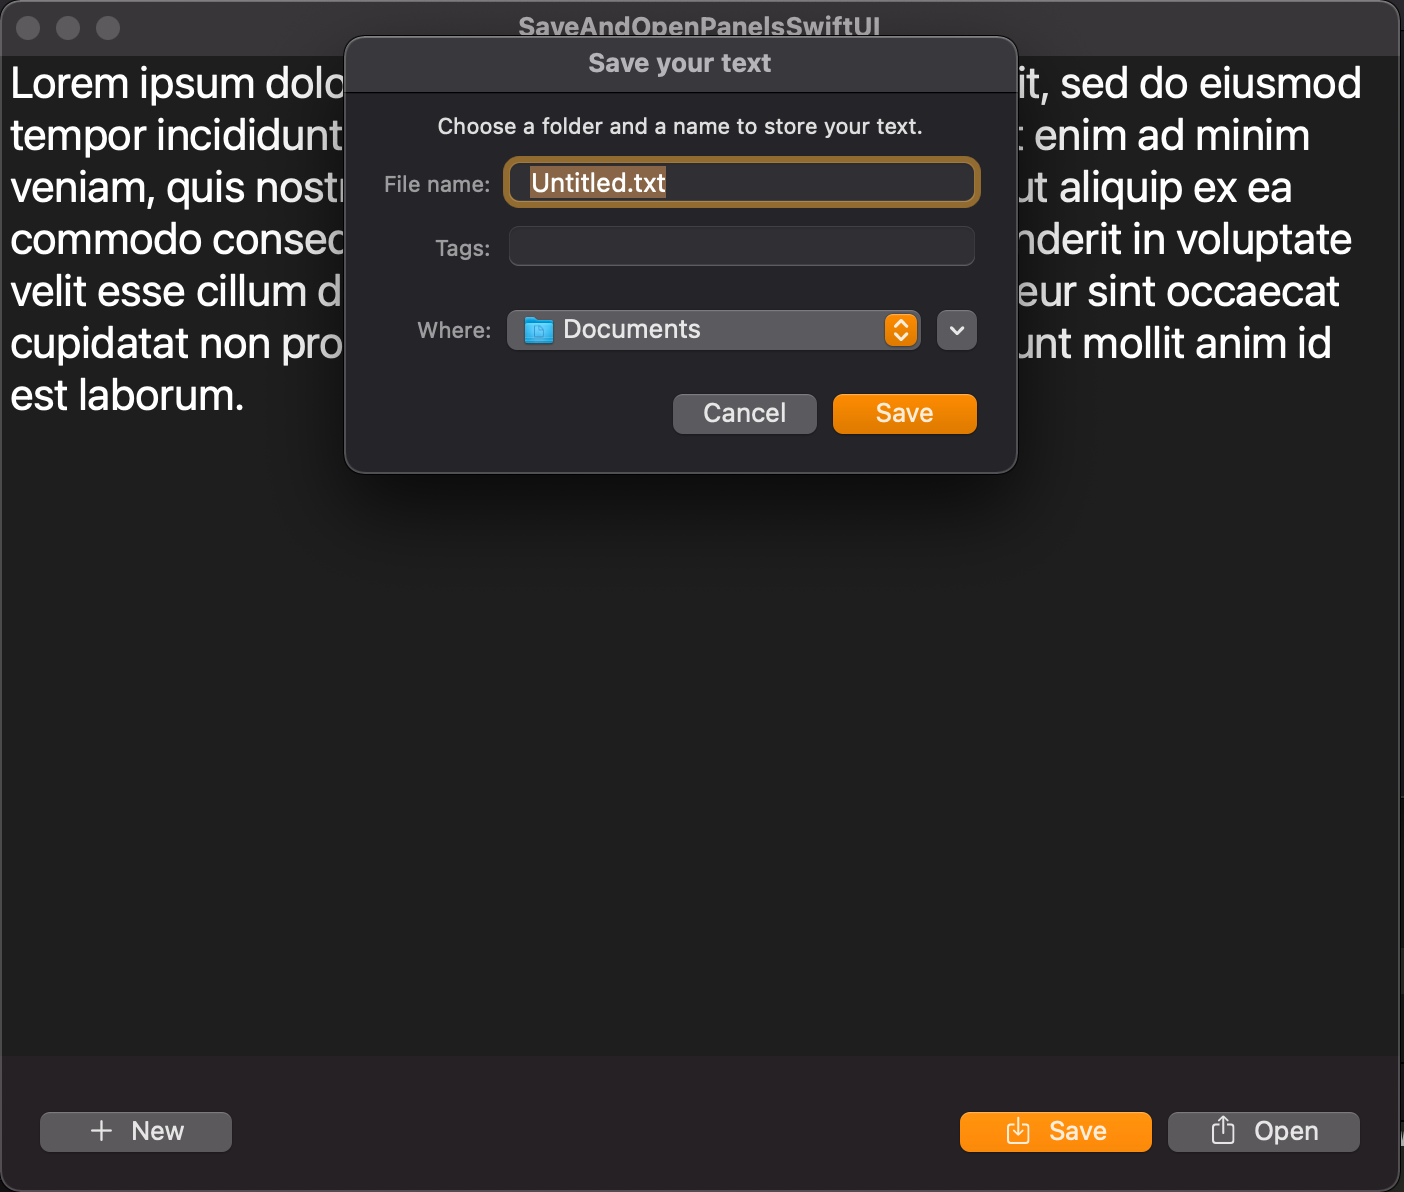
Note that if you try to present a save panel just like that, then you’ll see your app crashing. It’s required to go to Signing & Capabilities tab of the project target, and set the Read/Write permission for the User Selected File key under the File Access Type, in the App Sandbox capability.
The open panel
In a similar fashion we can present an open panel in order to select one or more files in a SwiftUI based macOS application. Once again, we need to call the runModal() method after we have initialized and configured an NSOpenPanel instance.
So, for one more time, the most preferred action is to define a new method to work with the open panel. The following snippet is taken as-is from the first tutorial regarding both panels, without changing even a bit in the code:
|
1 2 3 4 5 6 7 8 9 10 11 |
func showOpenPanel() -> URL? { let openPanel = NSOpenPanel() openPanel.allowedFileTypes = [“txt”] openPanel.allowsMultipleSelection = false openPanel.canChooseDirectories = false openPanel.canChooseFiles = true let response = openPanel.runModal() return response == .OK ? openPanel.url : nil } |
Exactly as in the previous part, this one returns an optional URL value too, and for the same reasons. If the user clicks on the Open button, then the selected URL is what will be returned. If not, then nil value is returned instead.
Remember that an open panel can return an array of URLs as well. That can happen in case a user selects multiple files to open, and of course if we allow to do so while configuring the panel. In that case, two changes must take place in the above method; the first is that the return value must be an array of URLs. The second is the return value in the last line:
|
1 2 3 4 5 6 7 |
func showOpenPanel() -> [URL]? { … return response == .OK ? openPanel.urls : nil } |
Finally, it’s necessary to call that method in the button that triggers the appearance of the open panel:
|
1 2 3 4 5 6 7 8 9 |
Button(action: { let openURL = showOpenPanel() readText(from: openURL) }, label: { … }) |
readText(from:) is a method that performs the actual loading from the file specified in the open panel and returned by the showOpenPanel() method.
Summary
Even though there is not a SwiftUI native way to present the save and open panels, it still remains an easy programming task. So, it’s definitely more important to know how to configure both panels properly, as their appearance has no difference between AppKit and SwiftUI based applications. If you were looking for a way to do that, then I hope that this post gave you answers on that topic. Thanks for reading!
You can find the first post about save and open panels here.
Download the sample SwiftUI project from this link.