Soon after someone comes to SwiftUI from UIKit, they come to realize that navigating among SwiftUI views is not the same as navigating among view controllers in UIKit. And if an app does not contain a navigation view or a tab view, how is navigation among SwiftUI views possible when those exist in the same hierarchy level?
This is exactly what I’m going to answer in this post. There are probably more than one solutions to that matter, but what I will present here is a combat-tested technique.
To get started, have a look at the following really simple views. They are quite common, as the only thing that gets changed on them is the background color and the displayed message.
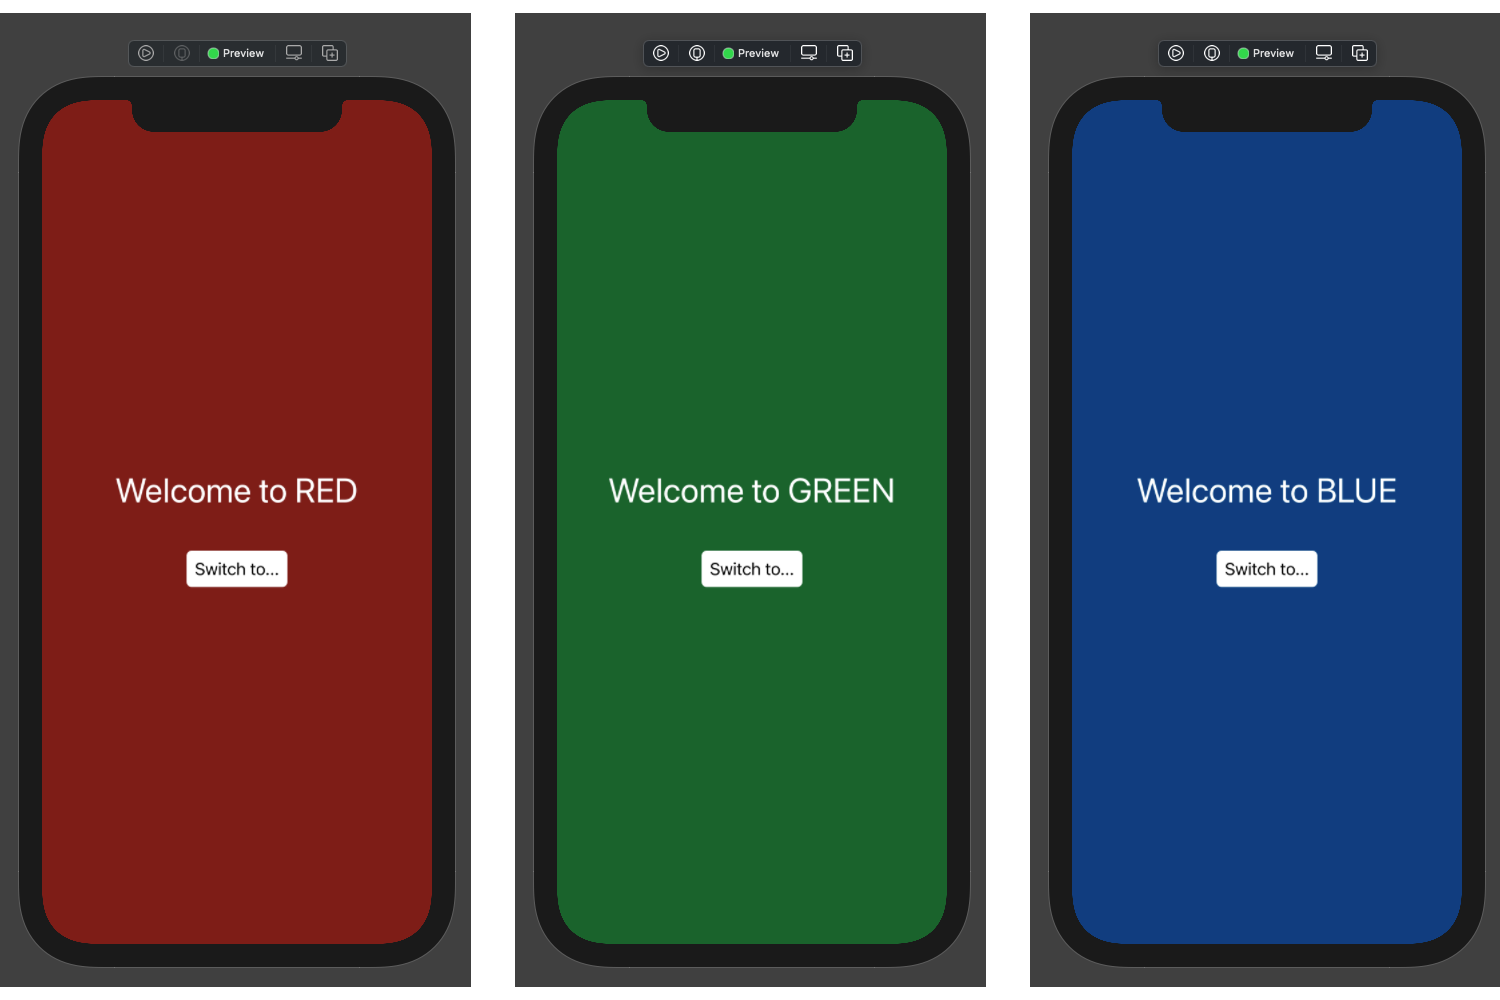
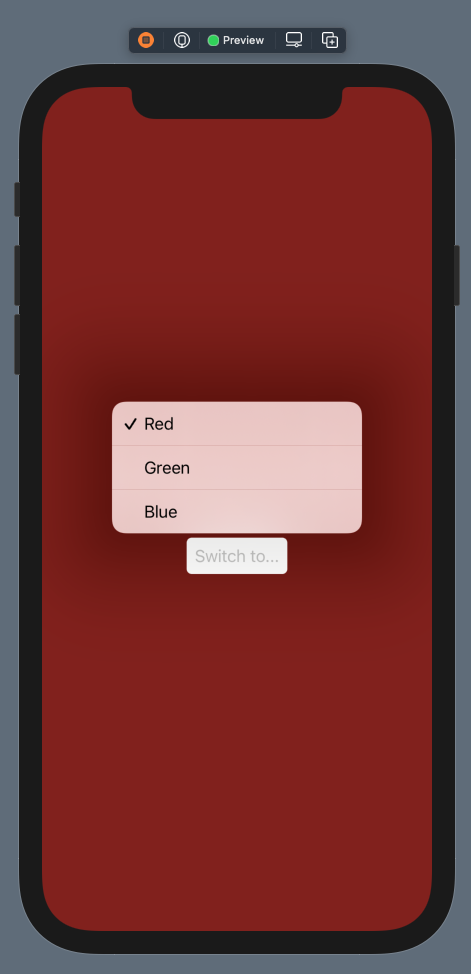
They also have a button in common, which presents a menu when pressed. Available options in that menu match to the three views, and the goal is to navigate to the respective one when tapping on any option.
At the time being nothing works though, as all three views exist at the same hierarchy level and no way to navigate among them has been implemented yet.
The main idea behind the realization of a solution lies to the fact that any SwiftUI view can be embedded to any other SwiftUI view. Based on that, the above sample views can be contained to another view, with its only content being one of those three. Which one will be displayed at any given moment is something that will be determined on the fly depending on the value of a special property that will be existing to views’ environment. As a quick explanation, the environment is a short of a shared memory for SwiftUI views all the way down to the view hierarchy; all views can access objects added to it, get updates and modify them.
The RootView and the PresentedView type
With that said, the first move towards the implementation of that idea is to create the container SwiftUI view, preferably in a separate file. I like to call it the RootView; but the name is not really that important.

Before we do anything on the RootView’s body, it’s necessary to define a new custom type. Its purpose is to contain a single property only; the one that will be indicating the view that should be displayed by the RootView at any moment. Since that property should be synchronizing the user selection with the displayed content, we will mark it with the @Published property wrapper. That way, any changes made to its value will become known to the views that subscribe to them, and SwiftUI will be redrawing its content appropriately.
However, how exactly are we going to represent available views? The best way is to have an enumeration with cases representing them. Even more, that enumeration will be nested in the custom type that we’ll define right next.
I usually implement that custom type inside the RootView.swift file and before the RootView structure; that way I have everything gathered in one place. Using a different file for that purpose is not wrong either though.
With all the above being said, let’s define the custom type which we’ll call PresentedView and the inner enumeration, called AvailableViews:
|
1 2 3 4 5 6 7 8 |
class PresentedView: ObservableObject { enum AvailableViews { case red, green, blue } } |
The above cases red, green, and blue match to the RedView, GreenView and BlueView respectively. Also notice that PresentedView is conforming to the ObservableObject protocol.
Next, we’ll define the one and only property in the PresentedView class, which we’ll mark with the @Published property and name it currentView:
|
1 2 3 4 5 6 7 |
class PresentedView: ObservableObject { … @Published var currentView: AvailableViews = .red } |
Note that the initial value matches to the view that we want to show first after the app is launched.
Making RootView the default view
Before we go the RootView body and implement the logic to display the proper view, it’s necessary to make a turn and go to the app’s structure (or the SceneDelegate, depending on how you’ve created the project). There, we’ll specify the RootView as the one to be initialized at app launch:
|
1 2 3 4 5 6 7 8 9 10 |
@main struct SwiftUIViewNavigationApp: App { var body: some Scene { WindowGroup { RootView() } } } |
In addition to that, we’ll pass to the RootView’s environment an instance of the PresentedView type using the environmentObject() method. That instance will be accessible then by all views in the hierarchy, and any changes made to the currentView property will force SwiftUI update displayed content accordingly:
|
1 2 3 4 5 6 7 8 9 10 11 |
@main struct SwiftUIViewNavigationApp: App { var body: some Scene { WindowGroup { RootView() .environmentObject(PresentedView()) } } } |
Finishing RootView implementation
With the above modifications in place, we can go back to the RootView. The first move is to prepare the view so it can receive changes occurred in the PresentedView object existing in the environment. We do so by declaring a new property and annotating it with the @EnvironmentObject property wrapper:
|
1 2 3 4 5 6 7 |
struct RootView: View { @EnvironmentObject var presentedView: PresentedView … } |
See that we don’t initialize a PresentedView instance; the above will make the presentedView property refer to the object already set in the environment.
Now, we can implement the RootView’s body properly. What we’ll do here is quite simple. Depending on the value of the currentView property in the presentedView object we’ll be initializing the matching SwiftUI view. We’ll do that in a switch statement:
|
1 2 3 4 5 6 7 8 9 10 11 12 13 |
struct RootView: View { @EnvironmentObject var presentedView: PresentedView var body: some View { switch presentedView.currentView { case .red: RedView() case .green: GreenView() case .blue: BlueView() } } } |
Whenever a different view is selected to be displayed from now on, RootView will be showing the correct one.
There is just one last thing missing, and that is to enable menu so it reacts to selections properly. A menu is actually a picker view, and it exists in the SwiftUI file that implements the common appearance and behavior of all other views.
Since this view is meant to affect the displayed view through the menu options, it’s necessary to declare an @EnvironmentObject property as in the RootView:
|
1 2 3 4 5 6 7 |
struct ColoredContentView: View { @EnvironmentObject var presentedView: PresentedView … } |
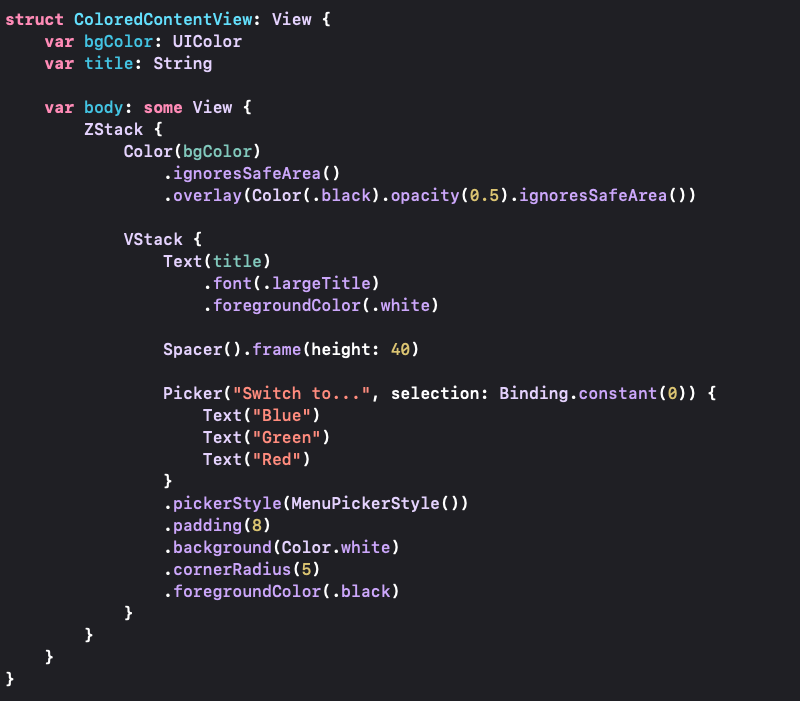
The current menu implementation is the following, where a temporary binding value indicates the selection:
|
1 2 3 4 5 6 7 8 |
Picker(“Switch to…”, selection: Binding.constant(0)) { Text(“Blue”) Text(“Green”) Text(“Red”) } .pickerStyle(MenuPickerStyle()) |
That has to be changed, and instead of the hardcoded binding value, we’ll provide as argument the binding value of the currentView property in the presentedView object:
|
1 2 3 4 5 |
Picker(“Switch to…”, selection: $presentedView.currentView) { … } |
In order for that property to be properly updated when a selection is made on the menu, each option must be tagged using the tag view modifier. The argument to pass is the AvailableViews case matching to the displayed text:
|
1 2 3 4 5 6 7 |
Picker(“Switch to…”, selection: $presentedView.currentView) { Text(“Blue”).tag(PresentedView.AvailableViews.blue) Text(“Green”).tag(PresentedView.AvailableViews.green) Text(“Red”).tag(PresentedView.AvailableViews.red) } |
And that’s it! Every time an option in the menu is selected, the currentView property in the PresentedView instance existing in the views environment will be updated accordingly. In turn, that change will be made visible to the RootView, which will eventually redraw its contents and display the corresponding to the currentview‘s value view.
Conclusion
What I demonstrated in this post is a solid way to navigate among views when they exist in the same hierarchy level. Probably that approach could get improved to suit more specific needs, but what I showed you today is a perfectly working solution. And as you read, it’s also easy to be implemented. So go ahead to adopt and adapt it in your own projects and work.
You can download the sample project demonstrated in this post from this link.