The topic of this tutorial is about the AVFoundation framework, which is a powerful set of tools that let programmers to work with both audio and video related tasks. In here, I’ll make a small introduction on how to play audio files using the framework, which is the most common task for the majority of the developers.
 I should mention that the AVFoundation framework is not the only one letting us playing audio files. There are also:
- Media Player framework
- Audio Toolbox framework
- OpenAL framework
and more.
What we’ll do here: Our goal is to create a simple iOS app with a single view, which is going to have three buttons:
- Play
- Pause
- Stop
No need to explain what these buttons are going to do with our audio file. Additionally, we’ll have a label which is going to inform us about the status of the playback.
So, let’s go to see how to play, pause and stop (and replay) an audio file. In the project I use an audio file (mp3 format) downloaded from the Internet. This file is going to reside inside the application bundle. You may use your own sound files, download any if you want (there are plenty sites out there with free sounds), or use mine. See the links at the end of the post or go directly to the Downloads area to get it.
The sample project was created for iOS 5.1 using XCode 4.3.
STEP 1 – Create the project
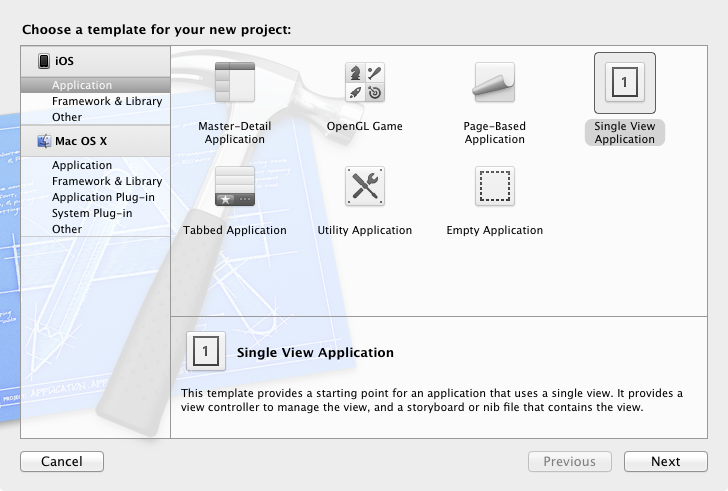
Our first step is to create the demo app. So, launch the XCode and create a new Single View Application for iOS, as shown in the next image:
In the next window set the project’s name. I named mine AVFoundationTestApp. Feel free to specify the name you wish.
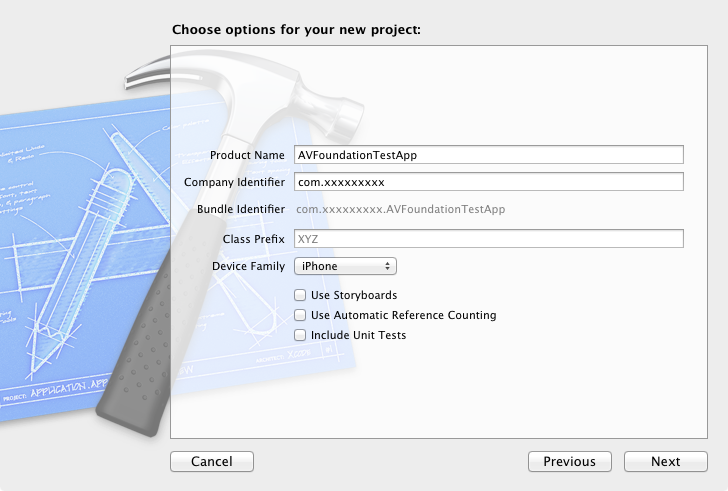
Finally, set the directory in which your project will be saved and you are ready.
STEP 2 – Add the AVFoundation framework into the project
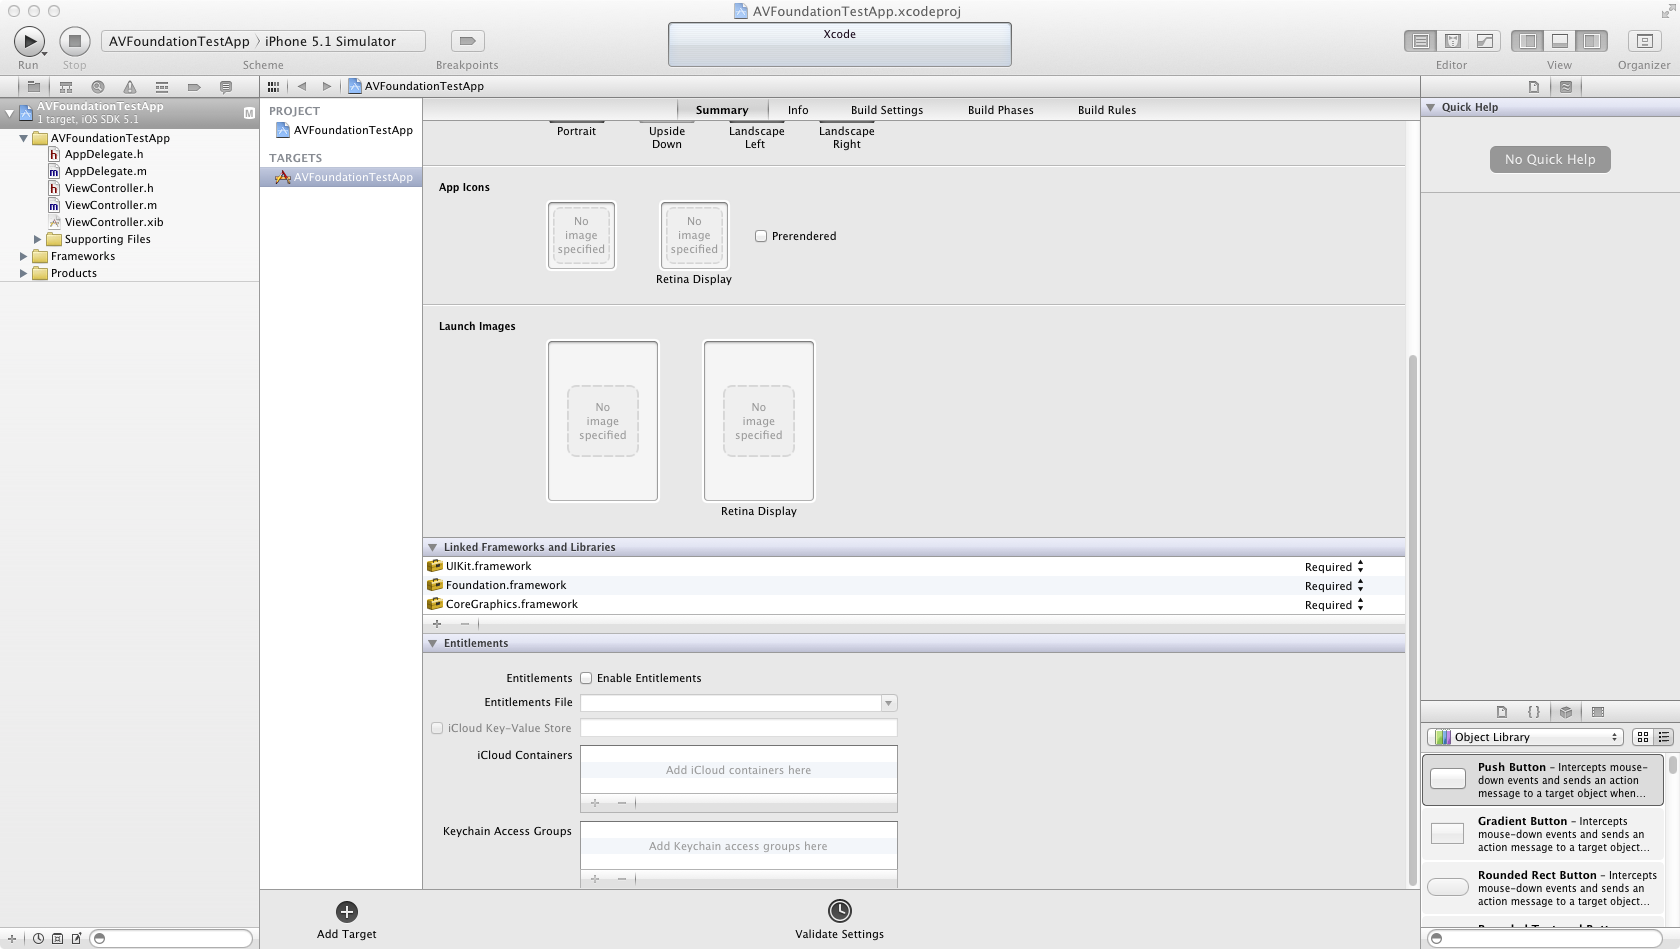
Go to the AVFoundationTestApp (or whatever else you named your project) target, move a little down to the window and under the Linked Frameworks and Libraries tab click on the plus sign to add the framework:
Inside the new small window type the first letters of the AVFoundation word (for example “avf”) and you’ll see it appearing in front of you. Select it and then click on the Add button.
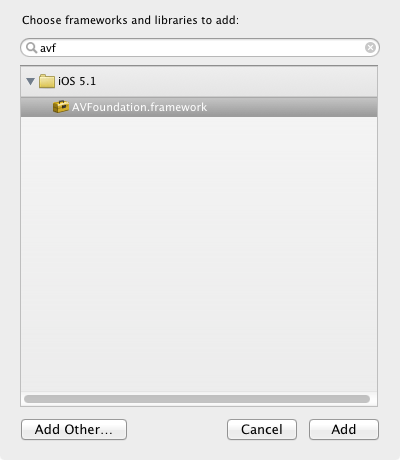
After that you’ll notice that the new framework has been added into the project.
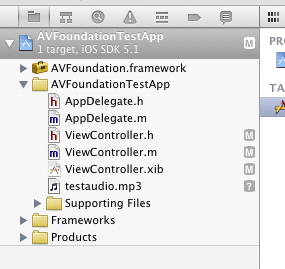
STEP 3 – Add an audio file into the project
We need an audio file to test our playback project, right? Grab one and drag and drop it into the project. Alternatively, use the File → Add file to… menu to add your file into the project. In any case, you should be able to see the audio file in the list with the rest of the files, just like this:
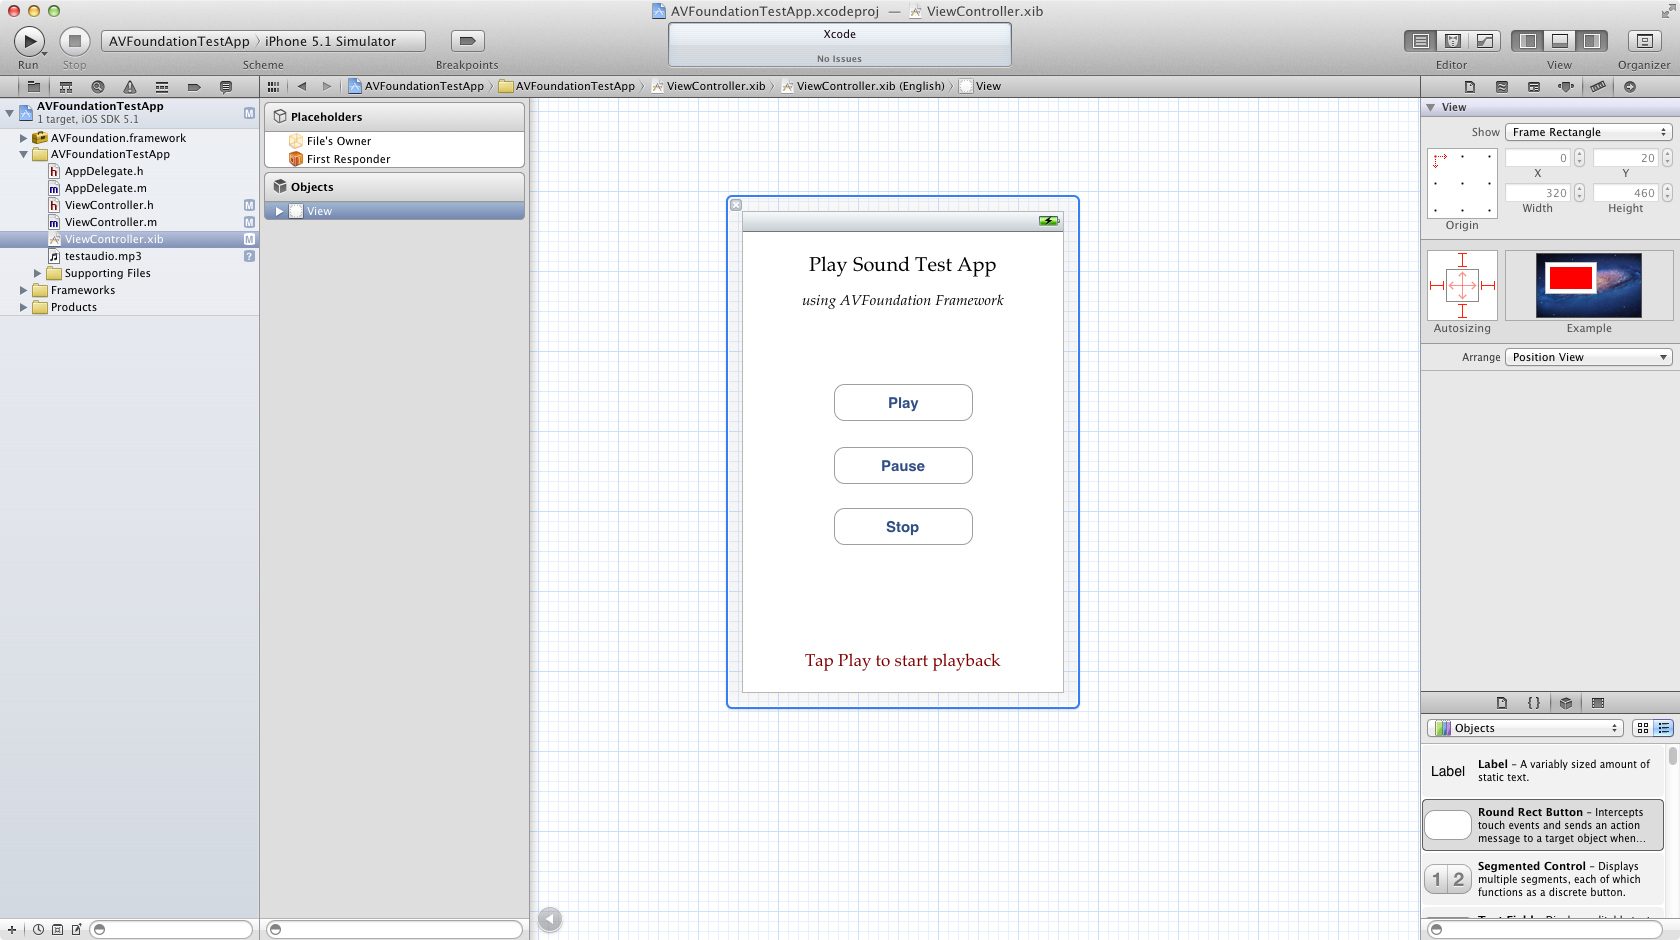
STEP 4 – Prepare the interface
Our next task is to create the (simple) interface of our app. Click the ViewController.xib file to bring the Interface Builder in front. Drag and drop three buttons into the view, as well as a label that will be used as the status of our operations. Here is how my interface looks like:
STEP 5 – Declare outlets, objects and IBAction methods
Now that we have the interface ready, it’s time to create the outlets and any other objects necessary to our project.
Open the ViewController.h file and type or copy-paste the following:
[objc]
#import <UIKit/UIKit.h>
// Import the following.
#import<AVFoundation/AVFoundation.h>
@interface ViewController : UIViewController
// Declare the necessary outlets.
@property (nonatomic, retain) IBOutlet UIButton *playButton;
@property (nonatomic, retain) IBOutlet UIButton *pauseButton;
@property (nonatomic, retain) IBOutlet UIButton *stopButton;
@property (nonatomic, retain) IBOutlet UILabel *lblStatus;
// Declare an object for the audio player.
@property (nonatomic, retain) AVAudioPlayer *player;
// Declare the IBAction methods.
– (IBAction)playSound;
– (IBAction)pauseSound;
– (IBAction)stopSound;
@end
[/objc]
What we’ve done here was to import the AVFoundation library and to declare the outlets for the three buttons and the label that we’ll use to make the connections into the Interface Builder. We also declared another object of type AVAudioPlayer, the most important in this project, which is going to be our audio player.
You may also drag each button and the label into the .h file and everything will be created automatically.
Note the AVAudioPlayerDelegate at the interface header. We’ll discuss about it later.
Enough with the .h file. Let’s go to implementation.
STEP 6 – Synthesize, release and connect
I usually perform the next step before doing anything else and after declaring all the objects is to synthesize and release them into the dealloc method. Inside the ViewController.m file synthesize:
[objc]
@implementation ViewController
// Synthesize all the objects we declared in the .h file.
@synthesize playButton;
@synthesize pauseButton;
@synthesize lblStatus;
@synthesize stopButton;
@synthesize player;
[/objc]
If the dealloc method doesn’t exist, create it and release the objects.
[objc]
-(void)dealloc{
[playButton release];
[pauseButton release];
[stopButton release];
[lblStatus release];
[super dealloc];
}
[/objc]
Also, inside the viewDidUnload method make all the objects nil (that’s a task that the Xcode does on its own if you make the connections by dragging the UI elements from the Interface Builder into the .h file):
[objc]
– (void)viewDidUnload
{
// Release any retained subviews of the main view.
[self setPlayButton:nil];
[self setPauseButton:nil];
[self setStopButton:nil];
[self setLblStatus:nil];
[super viewDidUnload];
}
[/objc]
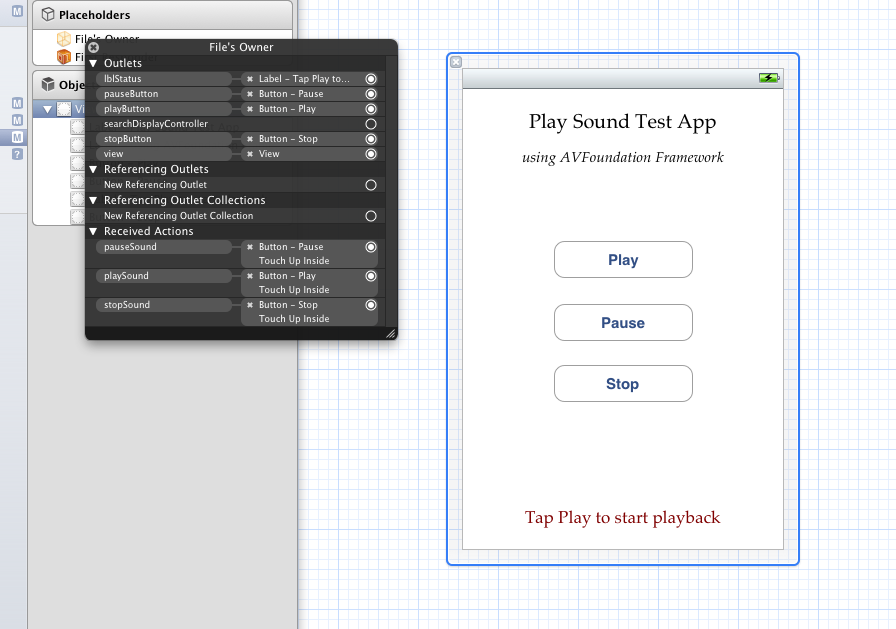
Now, we should connect the outlets to the buttons and to the label into the Interface Builder. If you haven’t used the drag method to set the outlets into the .h file, you need to do all the connections manually now:
STEP 7 – Preparing the audio
The player object is the one that will play the audio file. Before playing though, it should be loaded with the audio file. That can happen by allocating the player and using the initWithContentsOfUrl:error: method, which means that the path to the file should be expressed as a NSURL object.
There is the option either to pre-load the audio into the player’s buffer and just play it when you want, or play it without pre-loading it. The way you choose depends on your needs. If you have just one sound that you wish to playback, it’s preferable to pre-load it. But if you want to playback several sounds (for example, sound effects in a small game) then you may wish not to pre-load them but playing them instantly.
In this example I’ll show you mainly the first way, how to playback by pre-loading the audio to the buffer, but I’ll also show you how to instantly playback a file when tapping on the Play button at the end of the tutorial.
Type or copy-paste the next code inside the viewDidLoad method:
[objc]
/**
You may avoid all the code below and init the player into the Play IBAction method.
The following exists to demonstrate how to preload the audio into the buffer of the player.
**/
// The AV Audio Player needs a URL to the file that will be played to be specified.
// So, we’re going to set the audio file’s path and then convert it to a URL.
NSString *audioFilePath = [[NSBundle mainBundle] pathForResource:@"testaudio" ofType:@"mp3"];
NSURL *pathAsURL = [[NSURL alloc] initFileURLWithPath:audioFilePath];
// Init the audio player.
NSError *error;
player = [[AVAudioPlayer alloc] initWithContentsOfURL:pathAsURL error:&error];
// Check out what’s wrong in case that the player doesn’t init.
if (error) {
NSLog(@"%@", [error localizedDescription]);
}
else{
// In this example we’ll pre-load the audio into the buffer. You may avoid it if you want
// as it’s not always possible to pre-load the audio.
[player prepareToPlay];
}
// Release the resources used previously.
[pathAsURL release];
[player setDelegate:self];
[/objc]
At first, we specify the path to the audio file inside the application bundle and then we convert it to NSURL object. The first important thing we do next, is to init the player with the specified file using this line:
player = [[AVAudioPlayer alloc] initWithContentsOfURL:pathAsURL error:&error];
We could have avoided the error object by setting the error parameter to nil, but it’s good to have it in case any error may occur. Next, if any error occurs, is shown to the debugger, otherwise we perform the second most important thing here, we pre-load the audio by calling the prepareToPlay method of the player object. Also, we release the pathAsURL object we used, as we no longer need it.
Finally, another important task we do here is to set the delegate of the player object. We need it if we want to keep track of audio-related operations, such as when the playback has finished. Actually, that’s exactly what we are going to do in this example, we are going to know when the playback is finished, so we will update the status label. That’s also the reason we declared the in the ViewController.h file.
STEP 8 – Implementing the IBAction methods
There are three IBAction methods we declared in the ViewController.h file and must be implemented inside the ViewController.m file (playSound, pauseSound, stopSound). Their content is really quite simple. They are just going to start or stop the player and update the status label. So, let’s begin from the playSound method:
[objc]
– (IBAction)playSound {
[player play];
[lblStatus setText:@"Now playing…"];
}
[/objc]
As you can see, the player begins to playback simply by calling the play method of the player object.
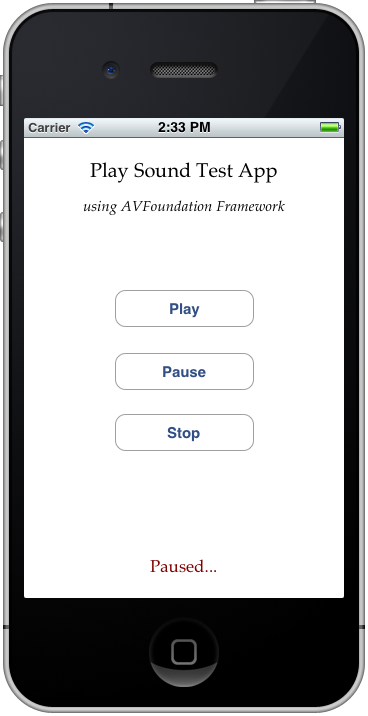
Now, let’s pause it:
[objc]
– (IBAction)pauseSound {
[player stop];
[lblStatus setText:@"Paused…"];
}
[/objc]
You might expect the stop method that’s been called inside the pauseSound to stop the player, but it doesn’t. It actually just pauses it, which means that the playback is interrupted but if you tap on the Play button again, it will continue playing from the point it was left last time.
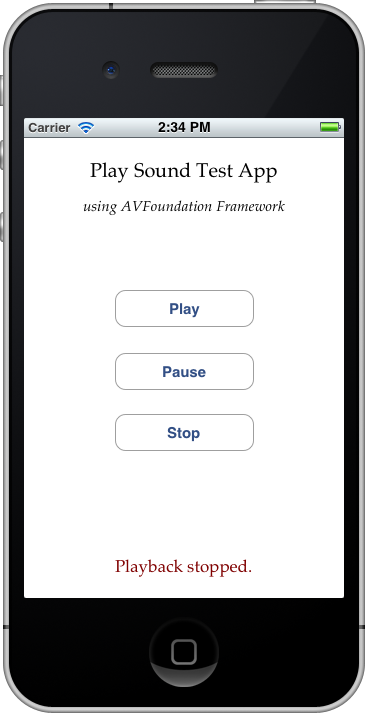
How do we stop the player?
[objc]
– (IBAction)stopSound {
[player stop];
[player setCurrentTime:0.0];
[lblStatus setText:@"Playback stopped."];
}
[/objc]
The difference between the last two methods is the setCurrentTime method of the player object. By setting the time of the audio to 0.0, we force the player to start over again when we tap on the Play button.
Also note that in every method, we update the text of the status label.
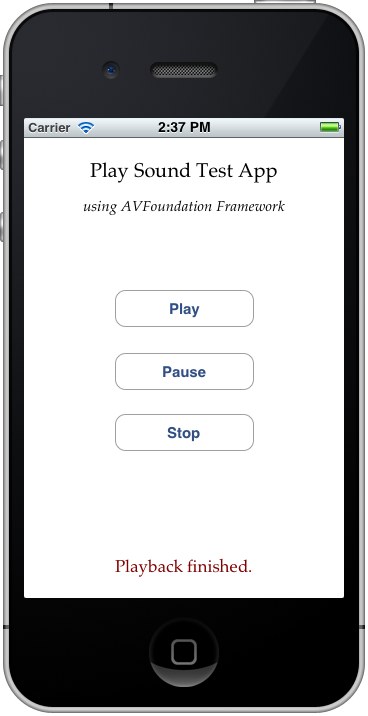
STEP 9 – Implementing a useful AVAudioPlayer delegate method
It’s always good to know when the player has finished playing. In this example, we need this information as we would like to update the text of the status label and show a message telling us that the playback is finished.
Previously, we declared the inside the ViewController.h file and we set the player’s delegate into the viewDidLoad method with the command [player setDelegate: self];. Now we are about to implement a useful method, that it should always be implemented in my opinion and that is the audioPlayerDidFinishPlaying:successfully callback method:
[objc]
-(void)audioPlayerDidFinishPlaying:(AVAudioPlayer *)player successfully:(BOOL)flag{
[lblStatus setText:@"Playback finished."];
}
[/objc]
There are also more callback methods you might want to use, such as:

At this point, we don’t need anything else.
Ready
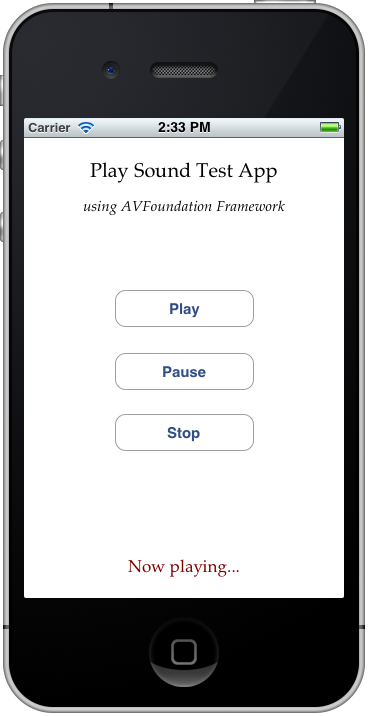
Now, we are ready to try our example. Run the project in the Simulator and admire the great results!
Here are some screenshots, beginning from the initial state, then playing, pausing, stopping and finishing the playback:

EXTRA – How to play audio directly without pre-loading it
There are times that you need to play an audio without having pre-loaded it into the player’s buffer. The simplest way to achieve this, is to init the player inside the Play IBAction method, such as below (keep in mind that if you prefer this way you should not put the code inside the viewDidLoad method as it’s described on step 7):
[objc]
– (IBAction)playSound {
NSString *audioFilePath = [[NSBundle mainBundle] pathForResource:@"testaudio" ofType:@"mp3"];
NSURL *pathAsURL = [[NSURL alloc] initFileURLWithPath:audioFilePath];
// Init the audio player.
NSError *error;
player = [[AVAudioPlayer alloc] initWithContentsOfURL:pathAsURL error:&error];
[player setDelegate:self];
// Check out what’s wrong in case that the player doesn’t init.
if (error) {
NSLog(@"%@", [error localizedDescription]);
}
else{
// If everything is fine, just play.
[player play];
[lblStatus setText:@"Now playing…"];
}
// Release the resources used previously.
[pathAsURL release];
}
[/objc]
Note this: Every time you tap on the Play button the playback starts over, as the audio file is loaded again and again from the beginning into the player. So, in this case don’t expect the pause button to work, as it used to work in the previous case.
Anyway, it’s up to you and your app’s needs to decide how you’d like to load the audio file.
Download the project here.
Download the test audio file here.
This tutorial was transferred as it was originally written in my blog, therefore some techniques, tools or SDKs may have changed since then.