We all have tried to blur images or entire views in iOS apps from time to time, and in UIKit that wasn’t the most straightforward or customizable thing in the world. However, applying blur effect in SwiftUI based apps is extremely easy, as all it takes is simply to call a view modifier.
Blur effect can be applied on any view, not just Images, and contrarily to UIKit, we can explicitly specify the blur amount. Even more, we can also change that amount on the fly and create a nice visual effect while updating it.
To demonstrate the topic, suppose we have the the following Text that displays a happy face:
|
1 2 3 4 |
Text(“????”) .font(.system(size: 70)) |
To blur it, we have call the blur view modifier, passing as argument the blur amount:
|
1 2 3 4 5 |
Text(“????”) .font(.system(size: 70)) .blur(radius: 5) |
However, a fixed blur amount may not always be what we really want. It’s often necessary to have a varying amount value, so in that case there is an additional step that we have to go through.
At first, we need a property marked with the @State property wrapper that will be indicating the current blur amount. Of course, using a @State property is not mandatory; a different source of truth could be used instead, such as an @ObservedObject or an @EnvironmentObject property. But for the demonstration purposes of this post, a @State property is just fine:
|
1 2 3 |
@State private var blurRadius: CGFloat = 5 |
We can now replace the fixed value with the blurRadius property:
|
1 2 3 4 5 |
Text(“????”) .font(.system(size: 70)) .blur(radius: blurRadius) |
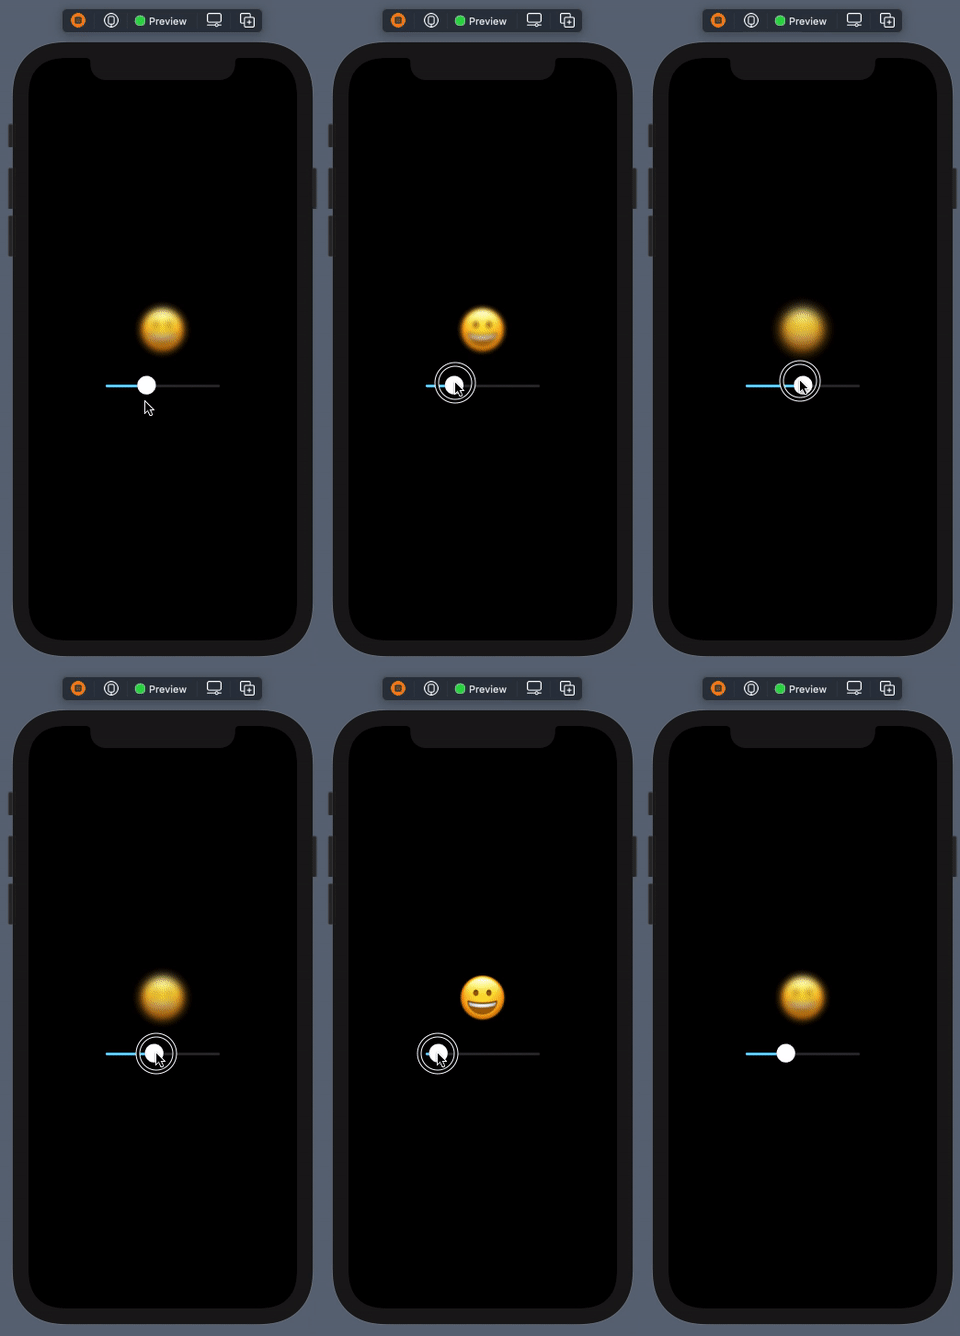
To make it possible to change the blur amount on the fly, let’s add the following Slider in the view:
|
1 2 3 4 5 6 |
Slider(value: $blurRadius, in: 0…15) .padding() .frame(width: 200) .accentColor(Color(UIColor.systemTeal)) |
We provide two arguments in the Slider initializer; the binding value of the blurRadius property, and a range of values for the blur amount.
Every time the slider will be used, it will be updating the blurRadius property with the new respective value, and that will have instant impact on blur effect applied on the Text:

So, this is all about applying blur effect in SwiftUI, which admittedly, is a really simple task. Now that you know how to do it, go ahead and use it in your own views. Thank you for reading!