Playing back videos in iOS apps was never a particularly difficult job. With SwiftUI and the coming of iOS 14, this has become a single-line task using the brand new VideoPlayer view. But what if older iOS versions should be supported as well? How can we playback video files there, and what are the additional required actions that developers should take?
We are going to meet all that in this post, and provide answers and solutions that will let you integrate video playback capabilities in your apps in no time at all!
The VideoPlayer View
Let’s start with the brand new view that SwiftUI supports in iOS 14 and above, called VideoPlayer. This has been a new addition to the AVKit framework, which was available since iOS 8, and its purpose being to provide a built-in interface for playing videos and audio within apps.
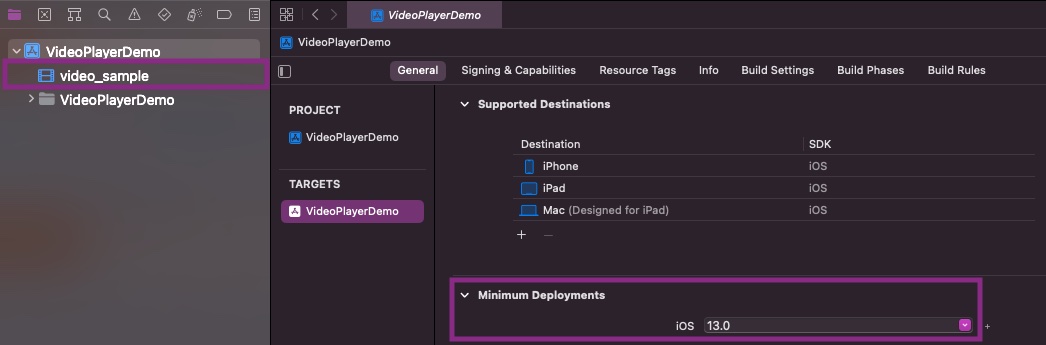
For the purposes of this post, I’ve added a sample video file (.mov file) to a new project in Xcode. Also, I’ve changed the minimum deployment target to iOS 13, so we can talk in a while about how to playback videos in older system versions too.
The first step towards integrating video playback capabilities to an app is to import the AVKit framework in the SwiftUI view that will contain the VideoPlayer:
|
1 2 3 |
import AVKit |
The VideoPlayer view must be provided with an instance of another class, the AVPlayer, which manages in turn the playback of audio and video files. It’s part of the AVFoundation framework, and it worths reading about it in case you’re interested in learning more. We won’t do anything special with it here, so we’ll stick to the basics. When initializing such an object, it’s necessary to provide the URL of the video file that we want to playback.
For the sake of the demonstration, we’ll use the URL to the local sample video file residing in the app bundle. The videoURL computed property shown below forms and returns that URL:
|
1 2 3 4 5 6 7 8 9 |
struct VideoPlayerView: View { var videoURL: URL? { Bundle.main.url(forResource: “video_sample”, withExtension: “mov”) } … } |
Note that the above might return a nil value instead of an actual URL, so the first thing we should do inside the view’s body is to make sure that we have a URL to use:
|
1 2 3 4 5 6 7 8 9 |
var body: some View { if let url = videoURL { } else { Text(“Video URL not available!”) } } |
If no URL is available, we simply display a Text view with an informative message as shown above.
In the if body now, we will initialize an AVPlayer object using the videoURL; then we’ll pass it as argument to the initializer of the VideoPlayer view:
|
1 2 3 4 5 6 7 8 9 10 11 |
var body: some View { if let url = videoURL { VideoPlayer(player: AVPlayer(url: url)) } else { Text(“Video URL not available!”) } } |
The highlighted line above is all we need in order to playback videos in iOS 14 and above using SwiftUI!
However, given that the minimum deployment target of the app has been set to iOS 13, that line must be included inside an if #available condition in order to make sure that it’s supported by the system:
|
1 2 3 4 5 6 7 8 9 10 11 12 13 |
var body: some View { if let url = videoURL { if #available(iOS 14.0, *) { VideoPlayer(player: AVPlayer(url: url)) } else { // Here is the place to add support for iOS 13! } } else { Text(“Video URL not available!”) } } |
Running the app in a device or a Simulator with iOS 14, the video will playback as expected!
Next, let’s see how we can manage the same in older system versions.
The AVPlayerViewController
In order to make it possible to playback videos in iOS versions prior to 14, or even to resort to a non-default solution, it’s necessary to use the AVPlayerViewController class; a UIKit view controller that displays a video player.
Since mixing UIKit and SwiftUI is unavoidable in this case, we have to create a new struct that conforms to UIViewControllerRepresentable protocol. This is the means to contain a view controller in SwiftUI, and an instance of that struct, which we’ll name VideoPlayerController, is what we’ll call from the SwiftUI environment:
|
1 2 3 4 5 |
struct VideoPlayerController: UIViewControllerRepresentable { } |
Usually, custom types like the VideoPlayerController are implemented in a separate file. In that case, we need to import the following two frameworks:
|
1 2 3 4 |
import SwiftUI import AVKit |
Any UIViewControllerRepresentable type is required to be implementing two methods mandatorily:
- A method to initialize, configure and return the
AVPlayerViewControllerinstance. - A method to update the view controller from SwiftUI. Here we won’t need this particular one, yet it’s mandatory to be defined.
Here are all the above in code:
|
1 2 3 4 5 6 7 8 9 10 11 |
struct VideoPlayerController: UIViewControllerRepresentable { func makeUIViewController(context: Context) -> AVPlayerViewController { } func updateUIViewController(_ uiViewController: AVPlayerViewController, context: Context) { } } |
Similarly to the previous part, we are going to use the AVPlayer here too, so we need the video URL in advance. For that reason, we will define the following property whose value will be given as argument at the initialization time of a VideoPlayerController instance:
|
1 2 3 4 5 6 7 8 |
struct VideoPlayerController: UIViewControllerRepresentable { var videoURL: URL … } |
In the makeUIViewController(context:) method now we are going to create two objects; an AVPlayer and an AVPlayerViewController instance:
|
1 2 3 4 5 6 |
func makeUIViewController(context: Context) -> AVPlayerViewController { let player = AVPlayer(url: videoURL) let playerViewController = AVPlayerViewController() } |
The playerViewController object has a property called player, and we will assign the AVPlayer instance to that propertyy. Eventually we’ll return the view controller from the method:
|
1 2 3 4 5 6 7 8 9 10 |
func makeUIViewController(context: Context) -> AVPlayerViewController { let player = AVPlayer(url: videoURL) let playerViewController = AVPlayerViewController() playerViewController.player = player return playerViewController } |
These few bits of code is all we need in order to present the video player view controller in the SwiftUI environment.
Back to the SwiftUI implementation now and inside the else case we left empty in the previous part. We will just create a VideoPlayerController instance in it, passing the video URL as an argument:
|
1 2 3 4 5 6 7 8 9 10 11 12 13 |
var body: some View { if let url = videoURL { if #available(iOS 14.0, *) { VideoPlayer(player: AVPlayer(url: url)) } else { VideoPlayerController(videoURL: url) } } else { Text(“Video URL not available!”) } } |
We can now playback videos on older system versions too!
Conclusion
Admittedly, integrating video playback features in iOS apps is an easy task, even if we need to support older system versions or we just want to use the UIKit view controller. What I demonstrated in this post covers the basics which is enough in most cases. However, the official documentation from Apple is always there to find out how to do further customization and explore various available options.
Thank you for reading! ????
Download the demo project from here.