When implementing apps that contain fields or views with values of various types, we soon come to a point where it becomes necessary to format appropriately when representing them visually. It’s part of the job to display all that as much as user-friendly as possible, and provide an actual information; not just mere data. Think, for example, of a text field that allows users to edit currency values. Displaying a currency symbol along with the actual amount is important. Not only it increases the overall user experience, but it also makes it instantly clear what the meaning of that number is.
Swift provides a few formatters that allow to properly format the textual representation of values in text fields or text views. A collection of them can be found in this official documentation page. However, there are often cases where no built-in formatters exist to format the displayed values as needed. There is an alternative in those circumstances; to create our own custom formatters.
The recipe to implement a custom formatter is relatively simple. The first step is to define a new type (class) that will be inheriting from the Formatter class; that is the Swift version of NSFormatter which comes from Objective-C. After that, there are a couple of required methods to implement, where we define the custom logic that:
- Specifies the textual representation of an object’s value.
- Gets or creates the object’s value from the textual representation.
There are also a few optional methods that we may implement if that seems to be necessary. For reference, I will prompt you to this page; even though the documentation is not so recent and it’s in Objective-C, it actually contains all available methods that we can include in a custom formatter.
Creating a custom formatter
To demonstrate how to create a custom formatter, we’ll implement one that will be allowing to represent hexadecimal (hex) color values in text fields. In order to keep things simple, we’ll disregard the alpha value, so a valid hex from now on in this post is meant to contain six characters.
As you’ll see next, even though it’ll be possible for users to type whatever they want in the text field, our formatter will help keep only valid hex values, disregarding anything else. This applies to iOS apps, as in macOS things are a bit different. On top of that, on macOS we have the ability to check what users enter while typing, and avoid to display invalid characters. We’ll see all that right next.
In addition, and in order to make things a bit more interesting, we’ll prefix the entered hex value with the hashtag (#) symbol once the editing of the text field has finished.
That said, it’s time for some coding. As mentioned earlier, the first step is to create a new custom type that will inherit from the Formatter class like so:
|
1 2 3 4 5 |
class HexFormatter: Formatter { } |
Before the implementation of the two methods that we mandatorily need, we’ll do some kind of a different preparation first. Since we want to validate and represent hexadecimal color values, let’s declare a custom character set that will be containing all valid letters and numbers that a hex value may have. We’ll be checking the user typed value against this character set in order to determine if there is any invalid input or not.
|
1 2 3 4 5 |
class HexFormatter: Formatter { let hexCharacterSet = CharacterSet(charactersIn: “0123456789ABCDEFabcdef”) } |
This alone, however, is not enough. Along with the custom character set, we’ll also define a custom method where we’ll be validating that a string is a color hex value. More precisely, we’ll make sure that any given string contains characters included in the hexCharacterSet only, and nothing else.
In fact, the easiest way to manage that is by doing the exact opposite in code, as you can see in the isValidHex(_:) method implemented right next:
|
1 2 3 4 5 6 7 8 9 10 11 12 |
class HexFormatter: Formatter { … private func isValidHex(_ value: String) -> Bool { guard let invalidHexRange = value.rangeOfCharacter(from: hexCharacterSet.inverted) else { return true } return invalidHexRange.isEmpty } } |
In the guard statement we are actually checking if there is a range of invalid characters that belong to the inverted character set; a character set that contains all other characters that hexCharacterSet does not. If that range is empty, then the argument string is a valid hex value.
Implementing the two required methods
With the above in place, let’s focus on the two required methods. The first one that is defined right below is where we implement and apply all the necessary logic that will construct appropriately the textual representation of the value that we are dealing with:
|
1 2 3 4 5 |
override func string(for obj: Any?) -> String? { } |
Before we add the code regarding this specific example, it’s probably needed to say a word about the obj parameter value. As you can see, it’s an Any type, because the value that we’ll format and return here could be originating from any kind of object; a Date, a Number, even a Color or some other built-in or custom type. But as it happens in this example, the source object can often be a String value.
We want this method to return the given string prefixed with the hashtag symbol, but only if it’s a valid hexadecimal color value. In any other case, the method will return nil. Obviously, it’s necessary first to cast from Any? to String, and then to make use of the isValidHex(_:) method in order to ensure that we have a valid string.
However, before doing the latter we’ll perform an additional check; that the string contains six characters exactly, otherwise it’s not a proper string to format as a hex value.
Here is all that written in code:
|
1 2 3 4 5 6 7 8 9 |
override func string(for obj: Any?) -> String? { guard let string = obj as? String, string.count == 6, isValidHex(string) else { return nil } return “#\(string)“ } |
The second required method we’ll add to the HexFormatter class is the following:
|
1 2 3 4 5 6 7 8 9 |
override func getObjectValue( _ obj: AutoreleasingUnsafeMutablePointer<AnyObject?>?, for string: String, errorDescription error: AutoreleasingUnsafeMutablePointer<NSString?>? ) -> Bool { } |
The method signature might not be looking so Swift-like, but that’s okay as it’s coming from Objective-C. What we are mostly interested in are the first two parameter values. obj is a reference to the actual object that is the source of the displayed value. string is the textual representation of the value which will be used here to update the object.
We’ll begin by checking if the string parameter value contains the hashtag symbol or not. If so, we’ll drop it and we’ll keep the remaining part. Otherwise, we’ll just keep string as is.
|
1 2 3 4 5 6 7 8 9 10 11 12 13 14 15 |
override func getObjectValue( _ obj: AutoreleasingUnsafeMutablePointer<AnyObject?>?, for string: String, errorDescription error: AutoreleasingUnsafeMutablePointer<NSString?>? ) -> Bool { let hexValue: String if string.contains(“#”) { hexValue = String(string.dropFirst()) } else { hexValue = string } } |
After that, we’ll update the object as shown next, and eventually we’ll return true from the method:
|
1 2 3 4 5 6 7 8 9 10 11 12 13 14 15 16 17 18 |
override func getObjectValue( _ obj: AutoreleasingUnsafeMutablePointer<AnyObject?>?, for string: String, errorDescription error: AutoreleasingUnsafeMutablePointer<NSString?>? ) -> Bool { let hexValue: String if string.contains(“#”) { hexValue = String(string.dropFirst()) } else { hexValue = string } obj?.pointee = hexValue as AnyObject return true } |
Using HexFormatter in a SwiftUI text field
Using either a built-in, or a custom formatter in SwiftUI takes no effort at all, as we provide it as argument in text fields and text views. For the purposes of this tutorial I’ll use a text field, the implementation of which you can see right next; notice the HexFormatter instance:
|
1 2 3 4 5 6 |
TextField(“Type a Hex value…”, value: $hex, formatter: HexFormatter()) .textFieldStyle(.roundedBorder) .textInputAutocapitalization(.never) .padding(.horizontal) |
The $hex argument shown above is the binding value of the following state property:
|
1 2 3 |
@State var hex = “” |
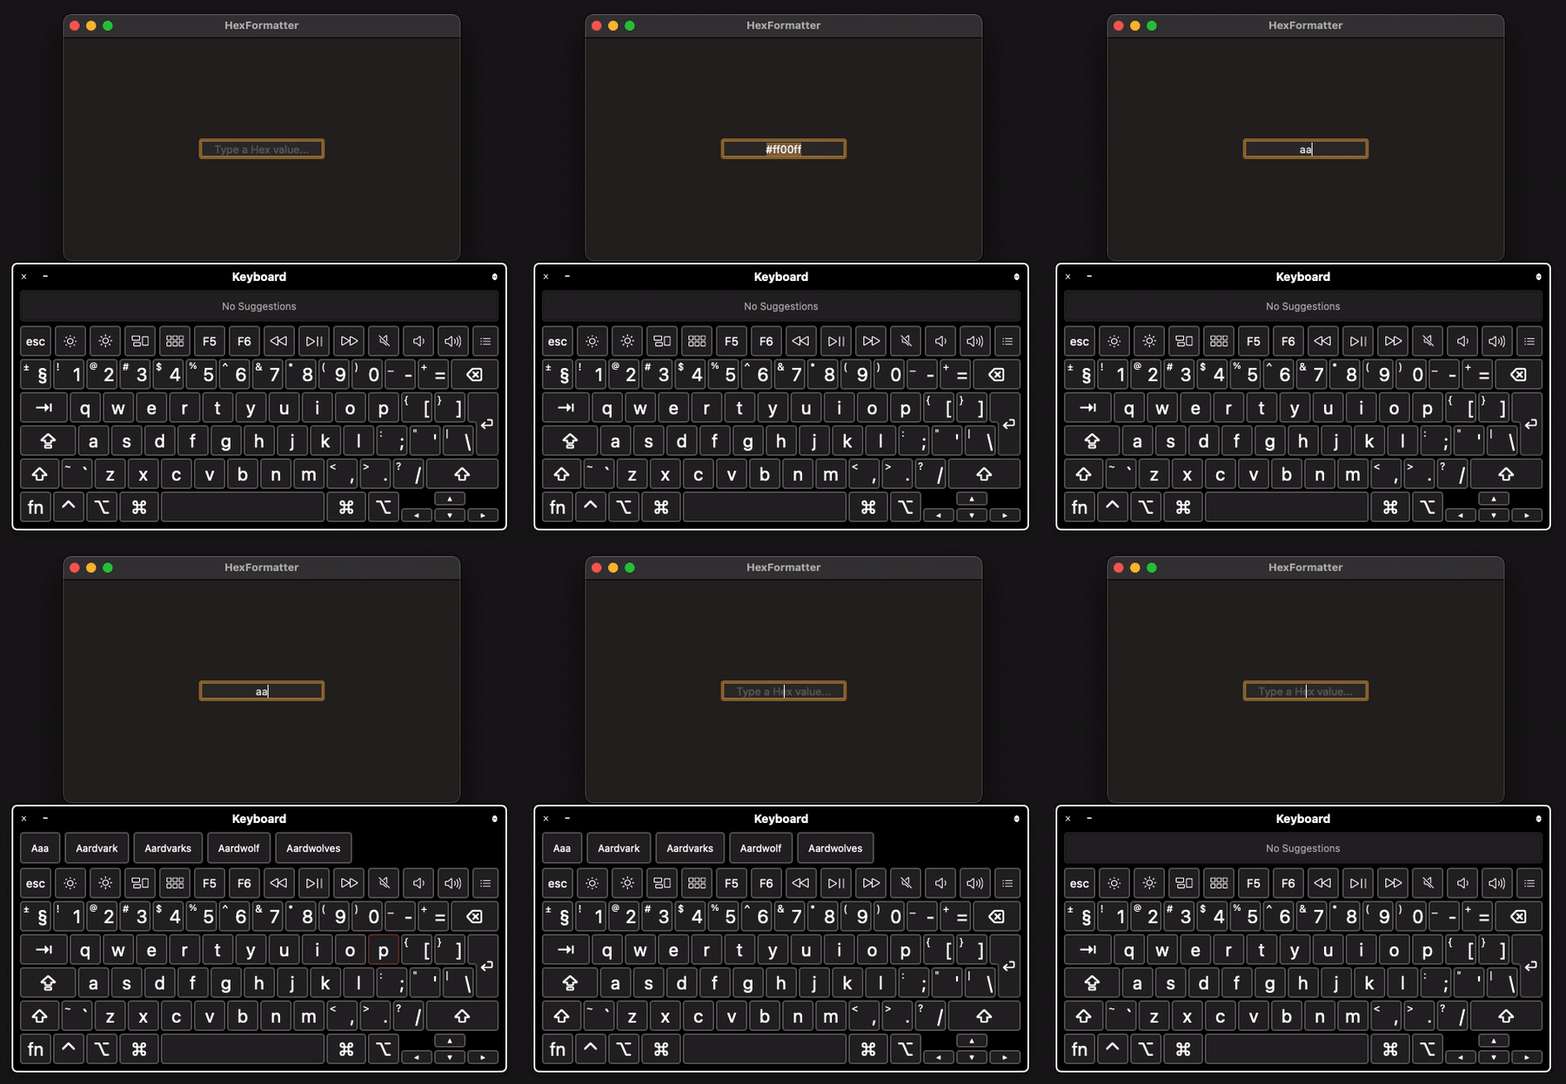
Let’s give this tiny app a spin now, and let’s see how the text field behaves using the custom hex formatter. Remember that the text validation takes place after the editing has finished.

See that no matter what is typed in the text field, if the input value is a valid hex it will be prefixed with the hashtag and remain there. In any other case, the contents are being removed as it’s an invalid hex value.
Regarding UIKit, the UITextField class unfortunately does not provide a built-in way to set a formatter. Text validation should take place in the textfield’s delegate methods, so creating a custom formatter for UIKit text fields is pointless.
That’s not the case though on macOS, where NSTextField allows to specify a formatter in order to validate and properly represent the displayed value. We’ll get to that, but first let’s add another, optional method to HexFormatter; it’s undoubtedly useful when talking about macOS.
Validate while value is updating
Back to the HexFormatter implementation where we’ll add the next method:
|
1 2 3 4 5 6 7 8 9 |
override func isPartialStringValid( _ partialString: String, newEditingString newString: AutoreleasingUnsafeMutablePointer<NSString?>?, errorDescription error: AutoreleasingUnsafeMutablePointer<NSString?>? ) -> Bool { } |
As the method’s name suggests, it allows to check if the current textual representation matches to a valid object or not, and return the respective bool value. The parameter value we are mostly interested in, especially in this tutorial, is the first one called partialString.
Based on it, we can perform all those necessary checks in the method’s body that will indicate if it’s a valid string or not, and eventually determine the return value. In the current particular scenario, what we need to do is:
- to ensure that the partial string is up to six characters long, and then,
- to make use of the
isValidHex(_:)method once again in order to validate the user input.
|
1 2 3 4 5 6 7 8 9 10 |
override func isPartialStringValid( _ partialString: String, newEditingString newString: AutoreleasingUnsafeMutablePointer<NSString?>?, errorDescription error: AutoreleasingUnsafeMutablePointer<NSString?>? ) -> Bool { guard partialString.count <= 6 else { return false } return isValidHex(partialString) } |
Let’s see how the above works, but this time in an AppKit-based macOS app. The only thing we have to do is to assign an instance of the HexFormatter to the text field (NSTextField instance) like so:
|
1 2 3 4 5 6 7 |
override func viewWillAppear() { // Other initializations and configurations… textField.formatter = HexFormatter() } |
Time to run the app. Notice that when I’m typing an invalid character the validation fails in the last method implemented above, and there is nothing appearing in the text field. On the contrary, valid hex characters are being shown properly. When editing is done, the displayed value is formatted and the hashtag prefixes the hex value.

It’s important to highlight once again that the partial string checking presented in this part can be done on macOS apps only.
Overview
So, this is how to create and use a custom formatter, when there is no suitable built-in formatter to use. In this post I focused on the most important points you should be aware about, but there’s definitely room for some more exploration on your part. Custom formatters do not require much coding and they are handy, because not only help us format the displayed value, but also to easily validate user input that otherwise would require more effort to achieve.
Thank you for reading, enjoy coding! ????