When making apps, there are quite often situations where we want to handle button press and release events in order to trigger additional actions when any of these occur.
Doing that with UIKit on iOS and AppKit on macOS has been quite easy; By either observing for the states of a tap gesture recogniser or by overriding touches and mouse methods (on iOS & macOS respectively) we can pretty fast be notified for any of these two events.
When it comes to SwiftUI, things remain easy, but not that straightforward, and here I’m going to show you how to deal with press and release events.
The Basic How-To
For starters, consider the following super-easy button implementation:
|
1 2 3 4 5 6 7 |
Button { // Do something… } label: { Text(“Press me!”) } |
Even though there are tap gesture modifiers that we can apply to the button, they won’t lead to the desired result. What actually does the trick is a drag gesture (!) that we must add to the button. But there’s an important particularity such a gesture must have; the minimum required distance must be set to zero (0), so the gesture to be considered successful instantly.
But wait a minute; a button already handles press gestures and events, and adding a drag gesture just like that might not work as expected. For that reason, it must be passed as an argument to a modifier that allows to attach additional gestures to those that a control already responds to. That is the .simultaneousGesture(_:) modifier:
|
1 2 3 4 5 |
.simultaneousGesture( DragGesture(minimumDistance: 0) ) |
Now it’s going to become pretty clear why a drag and not a tap gesture:
A drag gesture is providing a modifier that the tap gesture does not have, the onChanged(_:) modifier. Its parameter value is a closure that gets called whenever the gesture state is changed. But in this case where the minimumDistance parameter value is set to 0, it simply signals the beginning of the interaction with the buttons, or in other words when the button is pressed (tapped or clicked).
On the other hand, the onEnded(_:) modifier is the one that through its parameter value notifies when the gesture is finished, or when the button is released in our case here. As you guess, that parameter value is a closure once again.
Putting all that in code ends up to this:
|
1 2 3 4 5 6 7 8 9 10 11 |
.simultaneousGesture( DragGesture(minimumDistance: 0) .onChanged({ _ in }) .onEnded({ _ in }) ) |
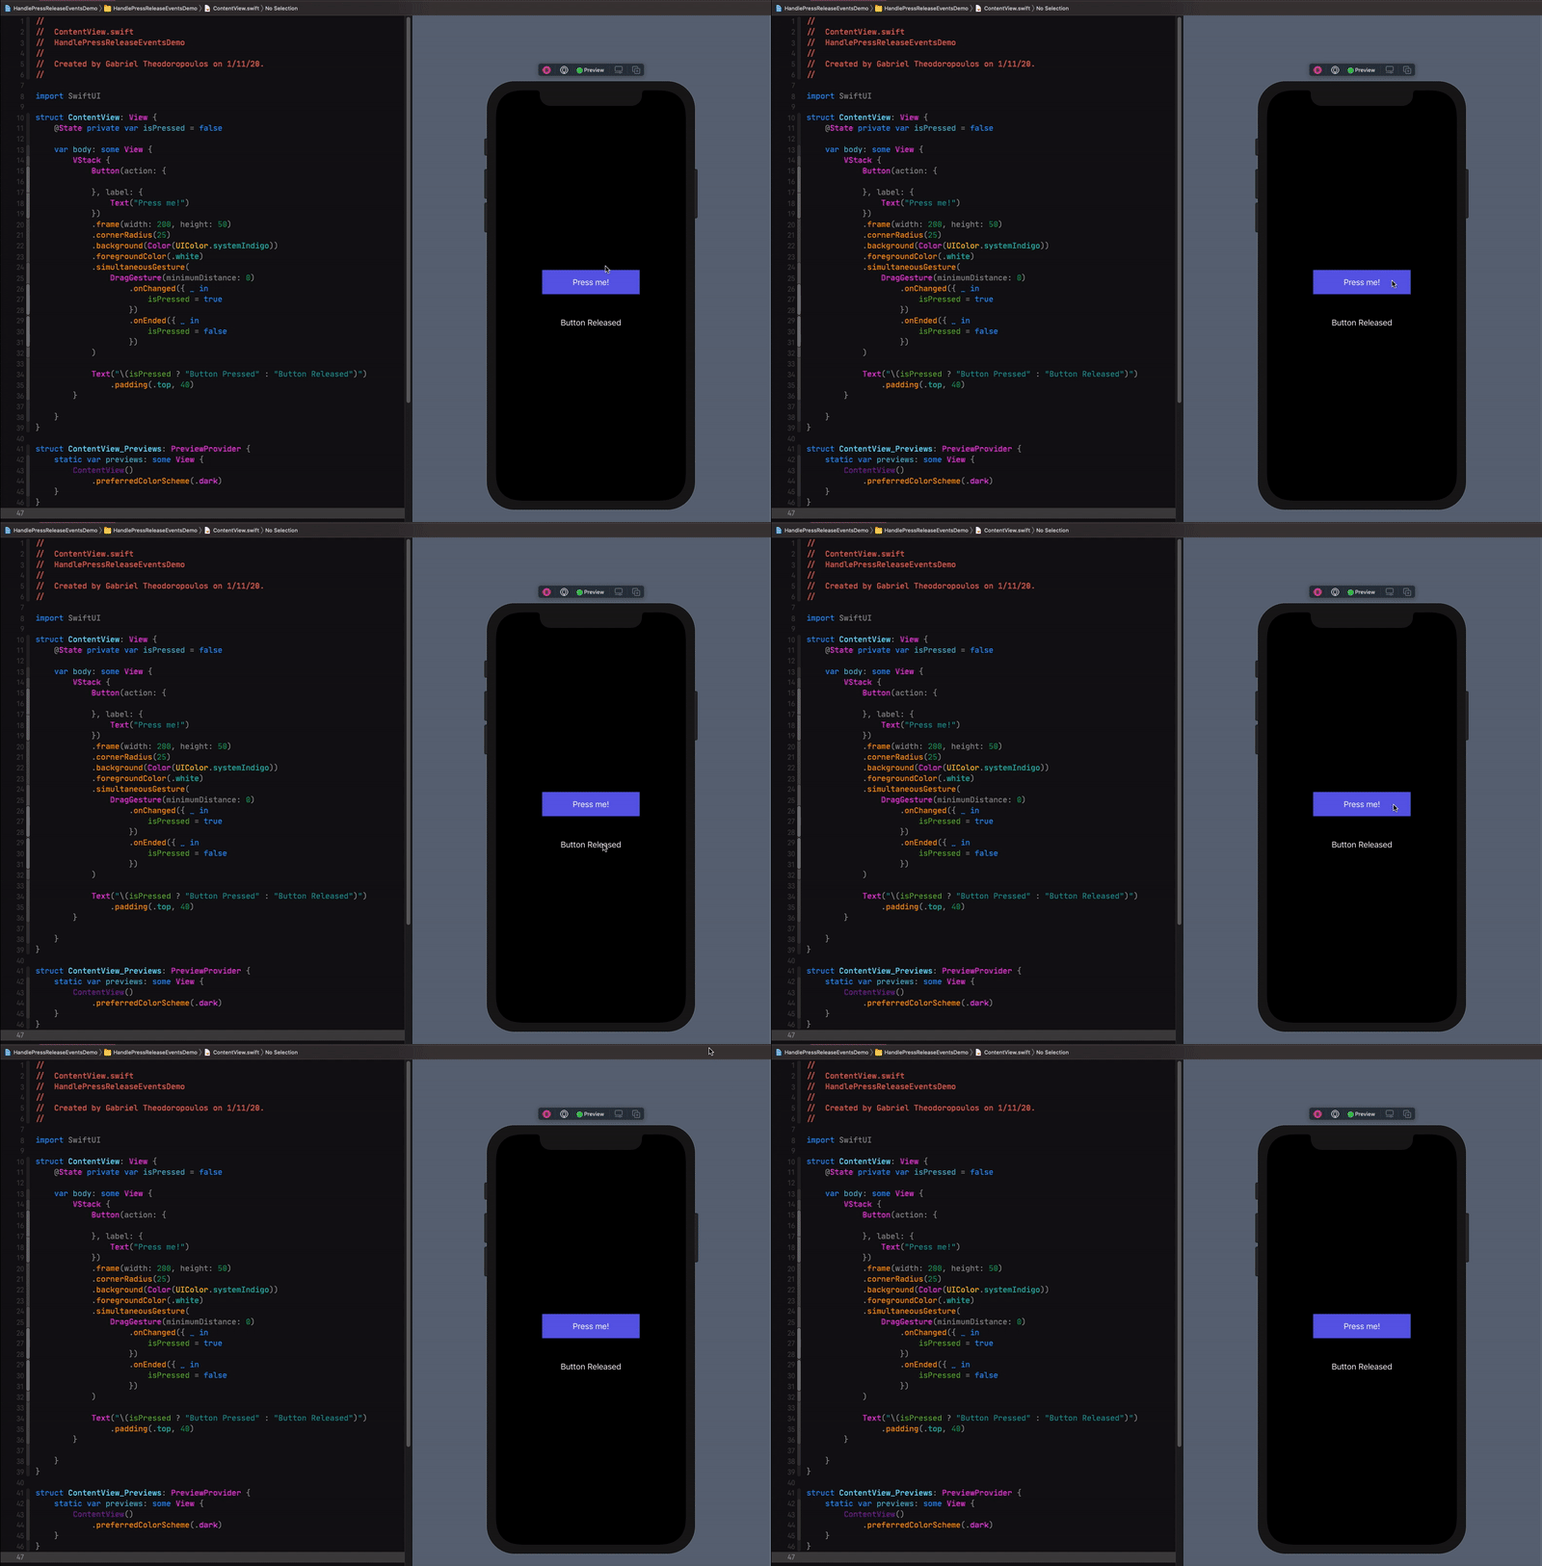
Appending the above in a button allows us to know when the button is actually pressed and released. See the following example:

Making It Even Simpler With A Custom Modifier
The above snippet works great for being notified when a button is pressed or released. However, it introduces some friction as it’s a bit uncomfortable to use as is multiple times.
Fortunately, we can do something better than that; we can create a custom view modifier that will be executing the above code, but it will be shorter to write and easier to remember.
To start, at first we’ll declare the following struct with the default body method:
|
1 2 3 4 5 6 7 |
struct PressActions: ViewModifier { func body(content: Content) -> some View { } } |
We will apply the drag gesture to the content argument, which we’ll also return from the method:
|
1 2 3 4 5 6 7 8 9 10 11 12 13 14 15 16 |
struct PressActions: ViewModifier { func body(content: Content) -> some View { content .simultaneousGesture( DragGesture(minimumDistance: 0) .onChanged({ _ in }) .onEnded({ _ in }) ) } } |
Next, we’ll declare the following two closures as stored properties to the struct:
|
1 2 3 4 5 6 7 8 |
struct PressActions: ViewModifier { var onPress: () -> Void var onRelease: () -> Void … } |
We’ll call the above from the closures of the onChanged(_:) and onEnded(_:) modifiers respectively, so the onPress to be called when the button is pressed, and the onRelease when it’s released:
|
1 2 3 4 5 6 7 8 9 10 11 12 13 14 15 16 17 18 19 |
struct PressActions: ViewModifier { var onPress: () -> Void var onRelease: () -> Void func body(content: Content) -> some View { content .simultaneousGesture( DragGesture(minimumDistance: 0) .onChanged({ _ in onPress() }) .onEnded({ _ in onRelease() }) ) } } |
The custom modifier is ready! Using it requires to initialise a PressActions object and pass it to another modifier called… modifier(_:) as shown next:
|
1 2 3 4 5 6 7 8 9 10 11 12 |
Button(action: { }, label: { Text(“Press me!”) }) .modifier(PressActions(onPress: { // Do something on press… }, onRelease: { // Do something on release… })) |
That’s definitely shorter to handle press and release events, however it doesn’t feel natural. It would be really great if we could make it look like that:
|
1 2 3 4 5 6 7 8 9 10 11 12 |
Button { } label: { Text(“Press me!”) } .pressAction { } onRelease: { } |
Well, we actually can do that! How?
By extending the View protocol and creating a brand new method called pressAction. It will be taking as arguments two closures like those we declared in the PressActions struct. Inside its body it will be initialising a PressActions object and providing it as an argument to the modifier(_:) modifier as demonstrated above.
Here it is:
|
1 2 3 4 5 6 7 8 9 10 11 |
extension View { func pressAction(onPress: @escaping (() -> Void), onRelease: @escaping (() -> Void)) -> some View { modifier(PressActions(onPress: { onPress() }, onRelease: { onRelease() })) } } |
That was the last thing to do! We can now react on press and release events really easily! Of course, we can use all that in conjunction to the default action handler of the button.
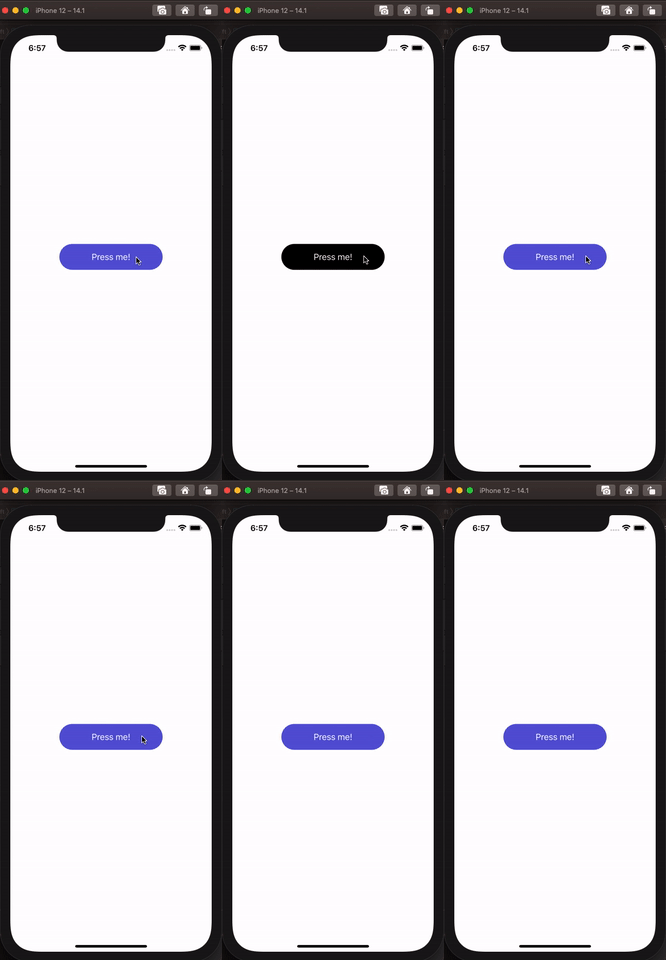
The following example changes the button’s background color when pressed:
|
1 2 3 4 5 6 7 8 9 10 11 12 13 14 15 16 17 18 19 20 21 22 23 24 |
struct ContentView: View { @State private var isPressed = false var body: some View { Button(action: { }, label: { Text(“Press me!”) }) .frame(width: 200, height: 50) .foregroundColor(.white) .background(!isPressed ? Color(UIColor.systemIndigo) : Color(UIColor.black)) .cornerRadius(25) .pressAction { isPressed = true } onRelease: { isPressed = false } } } |

You can download the demo project from here.
Find the PressActions modifier as a gist.