At the heart of any mobile application it’s the interaction of users with the app. The way the latter responds to actions and gestures enhances the level of user experience. However, apart from visual indications on screen, an app can also increase experience by offering an additional kind of feedback to users; haptic feedback.
With it, the responsiveness of an app is maximized, as users can physically feel the device reacting on their hands. Even though there are built-in controls that provide haptic feedback in iOS, it’s easy to assign that feature to custom controls and views as well. Notice though that, overusing it can cause confusion and make its purpose lost. Haptic feedback should originate as a response to some user action, such as a tap, drag, or selection, and never fire out of the blue with no reason at all.
Nevertheless, it’s an interesting feature to have, so let’s explore it.
Types of haptic feedback
There are three classes that provide APIs so we are able to integrate haptic feedback into an app. The most common is the UIImpactFeedbackGenerator. We can use objects and methods of it in buttons and tap gestures, managing to provide a tangible response to user actions besides any visual updates. This is also the type of preference in order to initiate a haptic feedback when there are visual impacts or collisions among screen elements (💁♂️ hence the name).
The other two classes are:
UISelectionFeedbackGenerator: Provides APIs that allow to indicate changes in a selection.UINotificationFeedbackGenerator: Suitable to indicate when an action was successful or not, or when displaying warnings.
All three classes mentioned above are concrete implementations of the UIFeedbackGenerator; an abstract class that inherits from NSObject. Obviously, these are not native SwiftUI APIs, however it’s quite straightforward to use everything in SwiftUI.
The focus in this post is on the UIImpactFeedbackGenerator and this is what is presented next. Once you grasp the general idea, you may put in motion the other two types in a similar fashion. For further details and reading, I prompt you to the official documentation from Apple.
The basics of UIImpactFeedbackGenerator
UIImpactFeedbackGenerator comes with a range of feedback styles:
- Light: A subtle tap.
- Medium: A firmer tap.
- Heavy: A more pronounced tap.
- Rigid: A sharp, crisp tactile sensation.
- Soft: A gentle touch.
Each of these feedback styles can be used to convey different kind of actions and intentions within an app, enhancing the user’s overall experience.
Although a UIImpactFeedbackGenerator instance can be initialized and used right where an action is performed (more about that later), Apple highly recommends to initialize and prepare a generator object in advance, giving Taptic Engine enough time to get ready. Doing so aims to reduce any latency that might exist between the time an action occurs and the time the haptic feedback is generated. Note however, and that’s important, that the feedback should be sent in a short time after having prepared the generator, or else the Taptic Engine will enter the idle state and the latency might not be avoided.
Integrating haptic feedback in a SwiftUI project
Suppose that we have the following pretty simple SwiftUI view implementation:
|
1 2 3 4 5 6 7 8 9 10 11 12 13 14 15 16 17 18 19 20 21 22 23 24 25 26 27 28 29 30 31 32 33 |
struct ContentView: View { var body: some View { VStack(spacing: 30) { Button(“Light Feedback”) { } Button(“Medium Feedback”) { } .foregroundStyle(.orange) Button(“Heavy Feedback”) { } .foregroundStyle(.red) Button(“Rigid Feedback”) { } .foregroundStyle(.indigo) Button(“Soft Feedback”) { } .foregroundStyle(.teal) } .font(.title2) .fontWeight(.bold) } } |
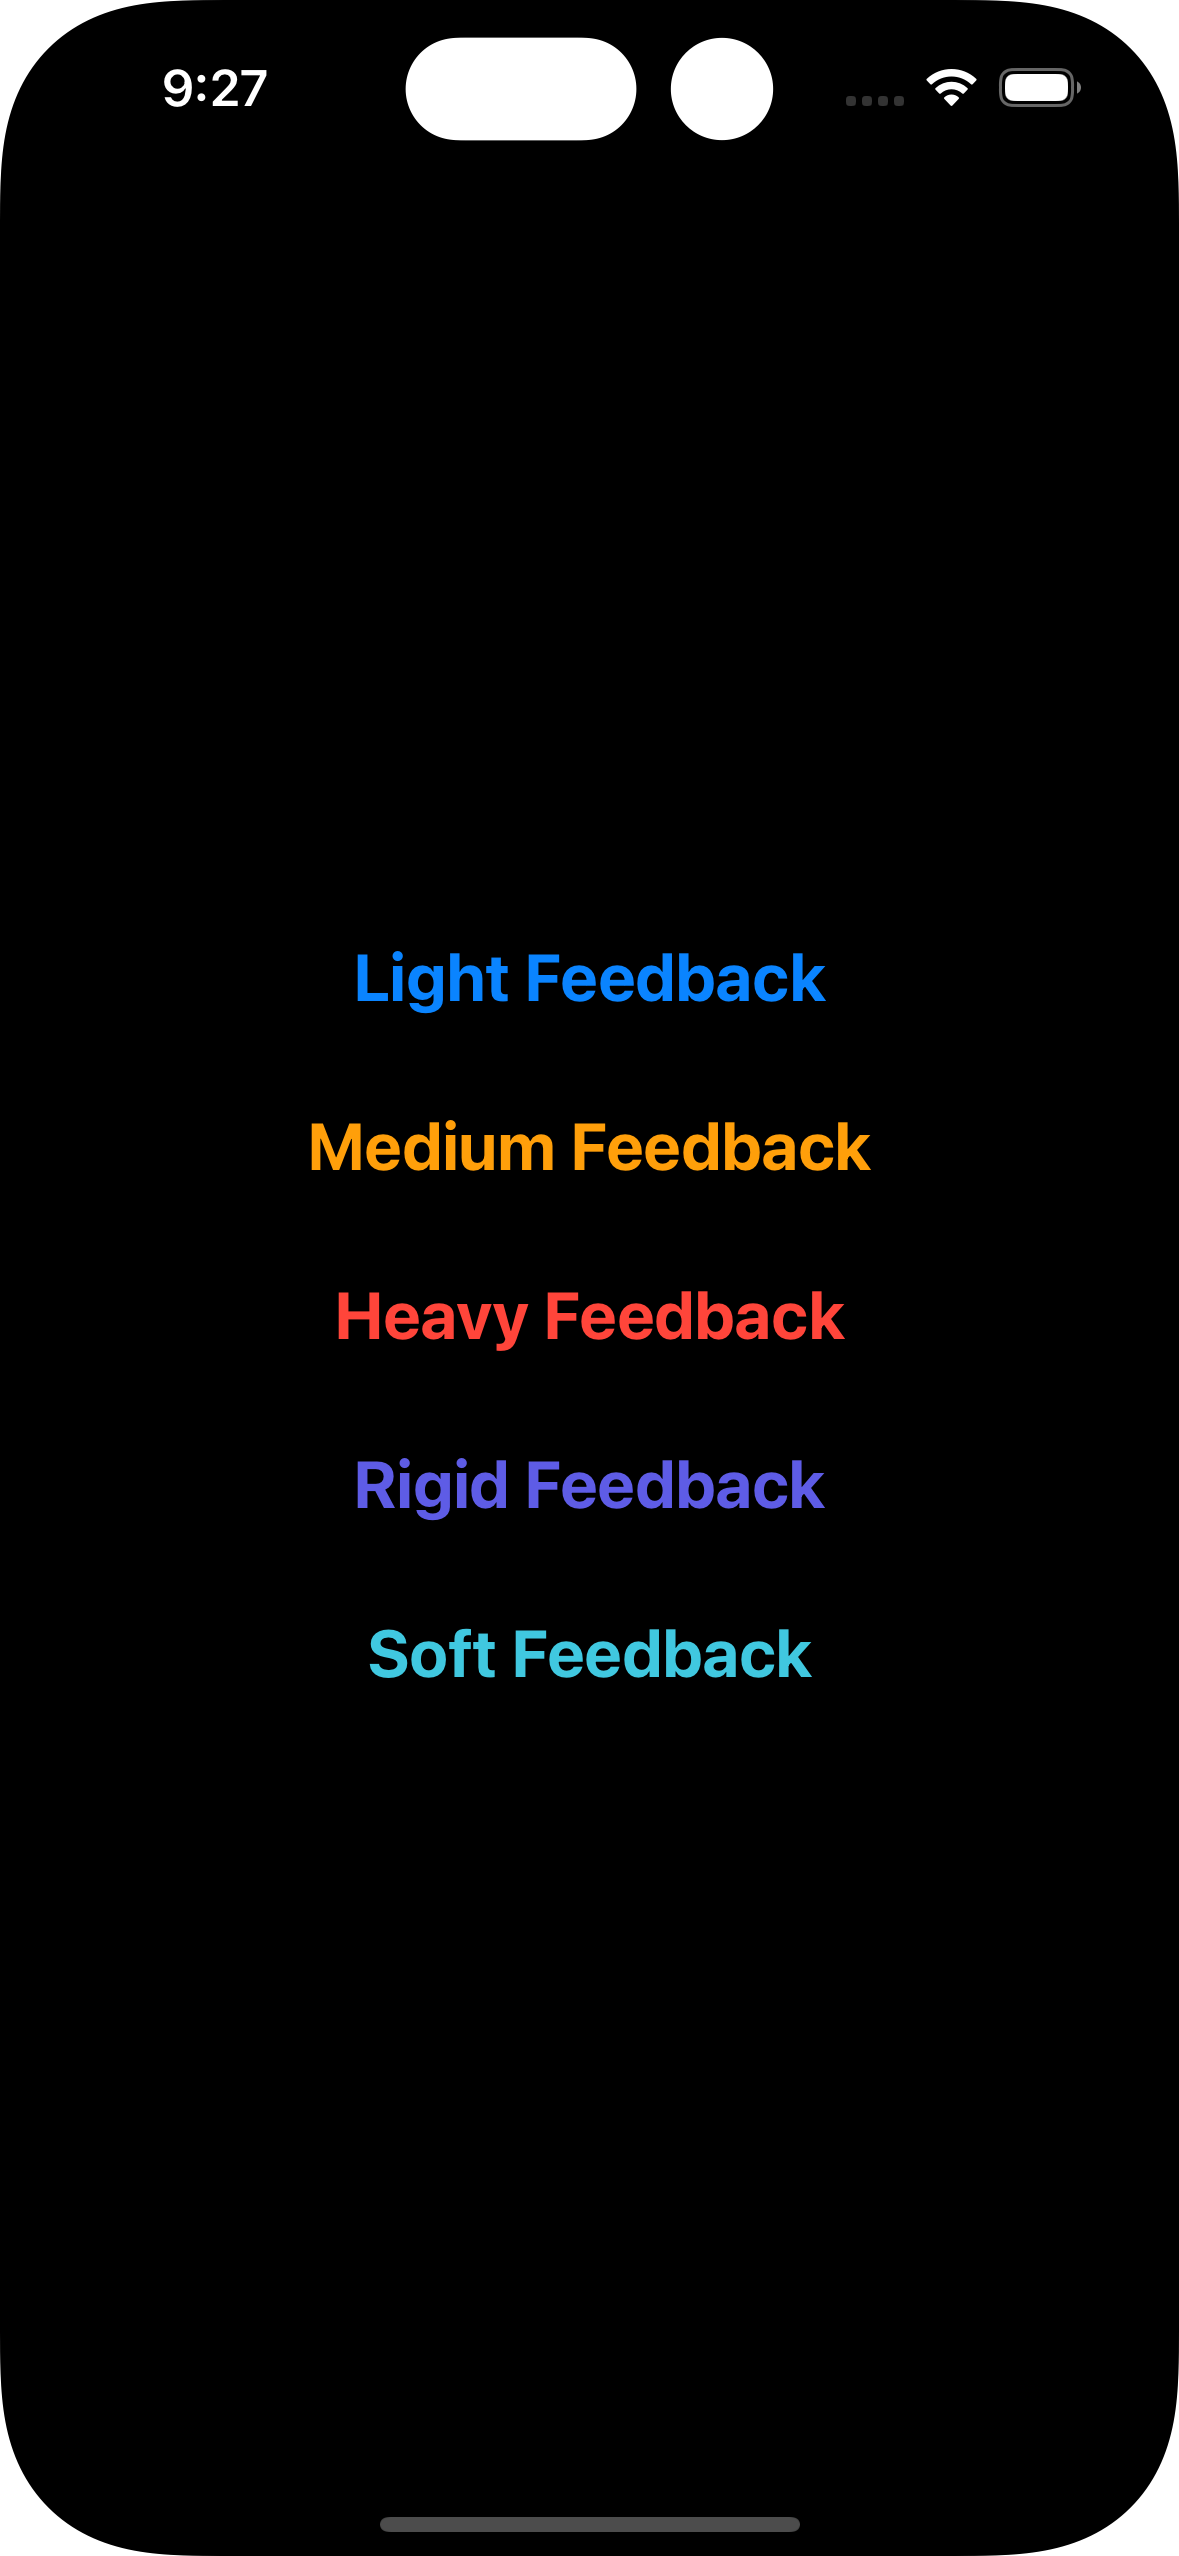
The view contains five buttons, where each one will trigger a different style of haptic feedback. For the sake of the demonstration we’ll declare the following five optional state properties, where each one matches to a different style:
|
1 2 3 4 5 6 7 8 9 10 11 |
struct ContentView: View { @State private var lightFeedback: UIImpactFeedbackGenerator? @State private var mediumFeedback: UIImpactFeedbackGenerator? @State private var heavyFeedback: UIImpactFeedbackGenerator? @State private var rigidFeedback: UIImpactFeedbackGenerator? @State private var softFeedback: UIImpactFeedbackGenerator? // … rest of the implementation … } |
Since this is a really simple implementation, we’ll initialize all the above properties and prepare the generator in the onAppear(_:) view modifier.
Note: I’m not encouraging you to do that in real projects, as the Taptic Engine will not stay in the prepared state for as long as the view lives. Do so if only such a decision makes sense.
To prepare the Taptic Engine, we’ll invoke a method named prepare() right after the initialization of each UIImpactFeedbackGenerator object:
|
1 2 3 4 5 6 7 8 9 10 11 12 13 14 15 16 17 18 19 20 21 22 23 24 25 26 27 28 |
struct ContentView: View { // … state properties declaration … var body: some View { VStack(spacing: 30) { // … buttons implementation … } // … other view modifiers … .onAppear { lightFeedback = UIImpactFeedbackGenerator(style: .light) lightFeedback?.prepare() mediumFeedback = UIImpactFeedbackGenerator(style: .medium) mediumFeedback?.prepare() heavyFeedback = UIImpactFeedbackGenerator(style: .heavy) heavyFeedback?.prepare() rigidFeedback = UIImpactFeedbackGenerator(style: .rigid) rigidFeedback?.prepare() softFeedback = UIImpactFeedbackGenerator(style: .soft) softFeedback?.prepare() } } } |
Notice that we specify the style of the desired haptic feedback as argument in the initialization of each UIImpactFeedbackGenerator instance. Generally, the set of actions shown in the previous snippet should be performed right before we need to generate the haptic feedback, but leaving a reasonable window of time so the Taptic Engine can be prepared.
With the above in place, we can go ahead and generate a haptic feedback in the action closure of each button. We do that by calling the impactOccurred() method:
|
1 2 3 4 5 6 7 8 9 10 11 12 13 14 15 16 17 18 19 20 21 22 23 24 25 26 27 28 29 30 31 32 33 34 |
struct ContentView: View { // … state properties declaration … var body: some View { VStack(spacing: 30) { Button(“Light Feedback”) { lightFeedback?.impactOccurred() } Button(“Medium Feedback”) { mediumFeedback?.impactOccurred() } .foregroundStyle(.orange) Button(“Heavy Feedback”) { heavyFeedback?.impactOccurred() } .foregroundStyle(.red) Button(“Rigid Feedback”) { rigidFeedback?.impactOccurred() } .foregroundStyle(.indigo) Button(“Soft Feedback”) { softFeedback?.impactOccurred() } .foregroundStyle(.teal) } // … view modifiers … } } |
You can try the buttons out in a real device. Run the above simple project in your iPhone and you’ll get a physical feeling of the various feedback styles when tapping on any of the five buttons.
Specifying feedback intensity
It’s possible to alter the default intensity of the impact feedback by invoking an overload of the impactOccurred() method, the impactOccurred(intensity:). The value to supply is a CGFloat number in the closed range [0.0…1.0]. Obviously, the higher the value is, the more intensive the feedback is going to be:
|
1 2 3 4 5 |
Button(“Light Feedback”) { lightFeedback?.impactOccurred(intensity: 0.75) } |
After-impact actions
Once we trigger a haptic feedback, the Taptic Engine becomes idle, leaving the prepared state that went into when we called prepare(). If the app should repeat the same haptic response, then it would be a wise decision to call prepare() again before that happens. In this simple example we can do so after the call to impactOccurred():
|
1 2 3 4 5 6 |
Button(“Light Feedback”) { lightFeedback?.impactOccurred() lightFeedback?.prepare() } |
Note: You should call prepare() in your apps wherever that’s appropriate to do, and probably not instantly after having triggered the impact feedback.
Keep in mind that the feedback will occur again on a subsequent button press, even if we skip calling prepare(). The only downside is that the there might be a small latency, as the Taptic Engine will not be in the prepared state. That’s similar to the case discussed in the next part of this post.
On the opposite side, if we are not planning to provide a haptic feedback again, then we should release any resources by making all relevant objects nil. For instance:
|
1 2 3 4 5 6 |
Button(“Light Feedback”) { lightFeedback?.impactOccurred() lightFeedback = nil } |
But even if it’s necessary to maintain UIImpactFeedbackGenerator instances alive and prepare the generator from time to time, we should release them all before dismissing the view that contains them. One place could be the disappear(_:) view modifier, or the site of the dismissal action initiation:
|
1 2 3 4 5 6 7 8 9 |
.onDisappear { lightFeedback = nil mediumFeedback = nil heavyFeedback = nil rigidFeedback = nil softFeedback = nil } |
Using UIImpactFeedbackGenerator without preparing first
I mentioned earlier that Apple recommends to initialize and prepare an impact feedback generator instance prior using it. Doing that that might not always be the best fit for our needs, or even desirable sometimes. In such circumstances is perfectly fine to create a UIImpactFeedbackGenerator object and call impactOccurred() on-site when necessary. For example:
|
1 2 3 4 5 6 |
Button(“Light Feedback”) { let impact = UIImpactFeedbackGenerator(style: .light) impact.impactOccurred() } |
Conclusion
Providing haptic feedback in your apps is a move that can boost user experience and enhance responsiveness. In this tutorial we met a simple API that we can easily integrate in SwiftUI projects, so consider doing so in your own too. Be thoughtful, however, as overusing can lead to negative results and cause confusion. In this post we talked about the impact feedback only, but there are other types of feedback you can explore. And the best place to get started is the official documentation.
Thank you for reading! 🚀