SwiftUI lays out our views automatically based on the container they are in and the modifiers applied on them. Most of the time that’s enough, but when it comes to overlapping and the order in the Z-axis, then we have an additional tool at our disposal; the zIndex view modifier. Using it is pretty straightforward, so let’s get to know it next.
Changing view order with zIndex
By default, all views exist in the same depth level on the Z-axis. But sometimes it’s necessary to change that, and bring views in front or send them to the back of other views, and the zIndex is here for this purpose exactly.
zIndex takes a number as argument that specifies the depth level. Usually we provide an integer, but for fine-grained situations it can also get a double value. The default value assigned by the system is 0 (zero) to all views.
To bring a view on top of other views and overlap them, zIndex must get a higher value than 0, or than any other current highest value. To push a view to the back, assign it the smallest zIndex value among all. Note that we can provide negative values too. There’s no restriction to keep them higher than or equal to 0.
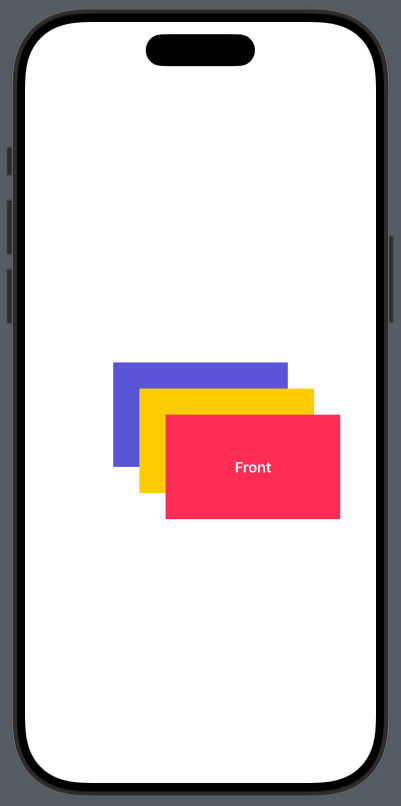
Here’s an example that lays out three Text views in a ZStack by overlapping them with different zIndex values. For visual clarity, they all have a specific frame and a background color. The offset is also intentional for visual separation of the views:
|
1 2 3 4 5 6 7 8 9 10 11 12 13 14 15 16 17 18 19 20 21 22 23 24 25 26 27 |
struct ContentView: View { var body: some View { ZStack { Text(“Back”) .frame(width: 200, height: 120) .background(.indigo) .zIndex(–1) Text(“Middle”) .frame(width: 200, height: 120) .background(.yellow) .offset(x: 30, y: 30) .zIndex(0) Text(“Front”) .frame(width: 200, height: 120) .background(.pink) .offset(x: 60, y: 60) .zIndex(1) } .padding() .foregroundStyle(.white) .font(.headline) } } |
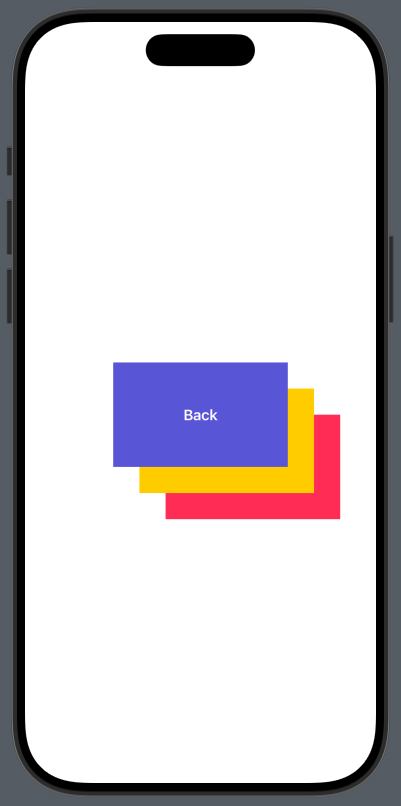
We can change the way views are overlapped by changing the zIndex value. Stripping all unnecessary modifiers, let’s update them like so:
|
1 2 3 4 5 6 7 8 9 10 |
Text(“Back”) .zIndex(1) Text(“Middle”) .zIndex(0) Text(“Front”) .zIndex(–1) |
This time, the “Back” Text view is in front of all others, while the “Front” has gone to the back.
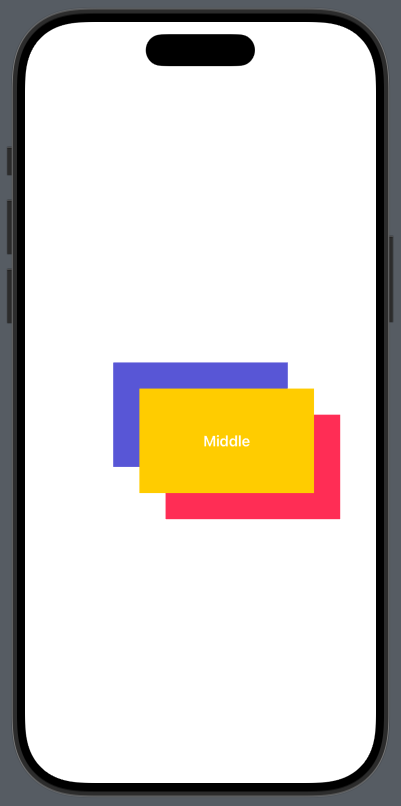
Here’s a different combination:
|
1 2 3 4 5 6 7 8 9 10 |
Text(“Back”) .zIndex(0) Text(“Middle”) .zIndex(1) Text(“Front”) .zIndex(–1) |
Important notes about zIndex
The above examples show that using zIndex is not difficult, but here are some clarifications so we avoid any misunderstanding or doubts:
- In the previous example I used the values -1, 0, and 1 for the
zIndexmodifier. It’s probably needless to say, but we can use any numerical value, not just these. I just chose them for the given example. - The
zIndexvalue can be either hardcoded as demonstrated here, or set programmatically. For instance, suppose we’re building a card game where cards are overlapping. Apparently, it would be necessary in this case to update thezIndexprogrammatically on the fly. - In a less obvious, yet extremely important detail, note that all views should belong to the same container view. In the previous example, they are all children of the
ZStackcontainer. Don’t expectzIndexto work for views in different containers.
Using zIndex in VStack and HStack
Usually zIndex is meaningful in ZStack containers where views are laid out on top of each other by default. However, this does not prevent us from using it in the other two containers too.
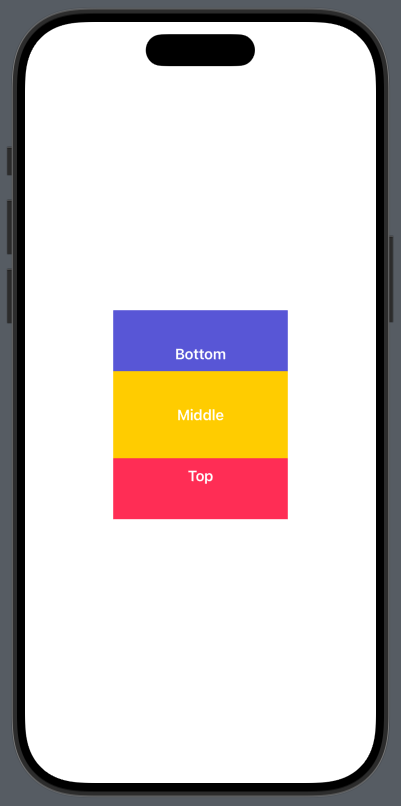
First of all, it’s important to note that since both HStack and VStack lay out child views one after another in the respective axis, using offset or spacing appropriately in order to overlap views is necessary. You’ll see that in the following example, where the negative spacing in the VStack makes views overlap each other. Then, using zIndex, we bring the middle one in front of the other two:
|
1 2 3 4 5 6 7 8 9 10 11 12 13 14 15 16 17 18 19 20 |
VStack(spacing: –30) { Text(“Bottom”) .frame(width: 200, height: 100) .background(.indigo) .zIndex(0) Text(“Middle”) .frame(width: 200, height: 100) .background(.yellow) .zIndex(2) Text(“Top”) .frame(width: 200, height: 100) .background(.pink) .zIndex(1) } .foregroundStyle(.white) .font(.headline) |
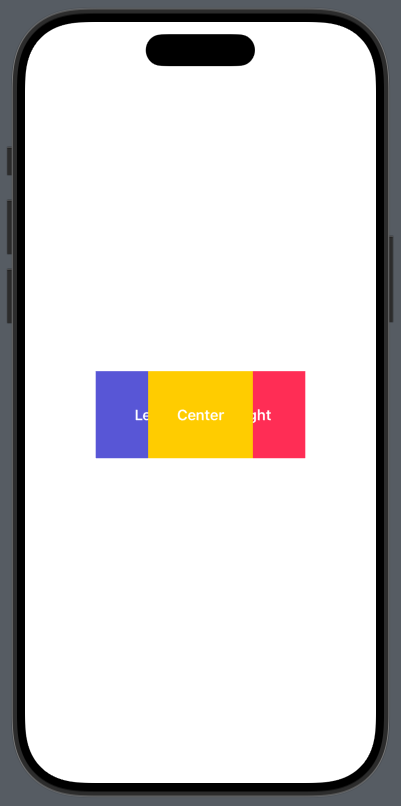
In a similar way we handle zIndex in views in an HStack:
|
1 2 3 4 5 6 7 8 9 10 11 12 13 14 15 16 17 18 19 20 |
HStack(spacing: –60) { Text(“Left”) .frame(width: 120, height: 100) .background(.indigo) .zIndex(0) Text(“Center”) .frame(width: 120, height: 100) .background(.yellow) .zIndex(2) Text(“Right”) .frame(width: 120, height: 100) .background(.pink) .zIndex(1) } .foregroundStyle(.white) .font(.headline) |
Wrapping Up
Even though the zIndex modifier might not be commonly used, it becomes really useful when we need to change the order in which views overlap. In this post you’ve read what you need to know, so just go ahead and use zIndex the way it suits you the most. Thanks for reading!