SwiftUI is great, but it has been lacking of specific native controls, even though that gets much better year by year. One of them was the text view. When SwiftUI was first released, it had no native equivalent of the text view; implementing a custom UIViewRepresentable type to contain UITextView was the only way to go. But since iOS 14, SwiftUI introduces TextEditor, a brand new view to write multi-line text.
Using TextEditor is almost as simple as any other SwiftUI view, with most of common view modifiers to apply here too. The fastest way to use it is to start typing TextEditor and follow Xcode’s auto-suggestion.
|
1 2 3 |
TextEditor(text: .constant(“Placeholder”)) |
The argument must be a String binding value, usually a state property, or any other source of truth that gives us a binding value:
|
1 2 3 |
@State private var text = “” |
Note that using the Binding property wrapper’s constant() method with a default text makes the text editor practically unusable. Editing text is impossible, just because the binding value is a constant and cannot be changed. Also, don’t let the “Placeholder” value added automatically by Xcode trick you. It’s just a piece of text, and not a real placeholder that will be replaced by actual text while writing, as it happens with the TextView.
TextEditor basics
So, the most common way to get started with TextEditor should be similar to the following:
|
1 2 3 4 5 6 7 8 9 |
struct ContentView: View { @State private var text = “” var body: some View { TextEditor(text: $text) } } |
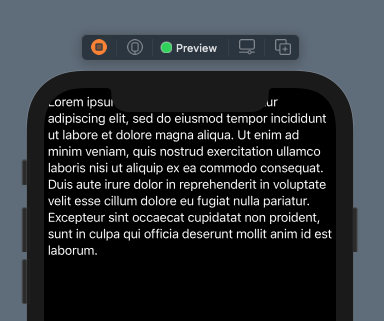
While typing, any new additions or changes to the text will be stored to the text state property through the two-way binding value. However, doing just that as the bare minimum implementation has a strange side effect; text is appearing out of the safe area boundary:
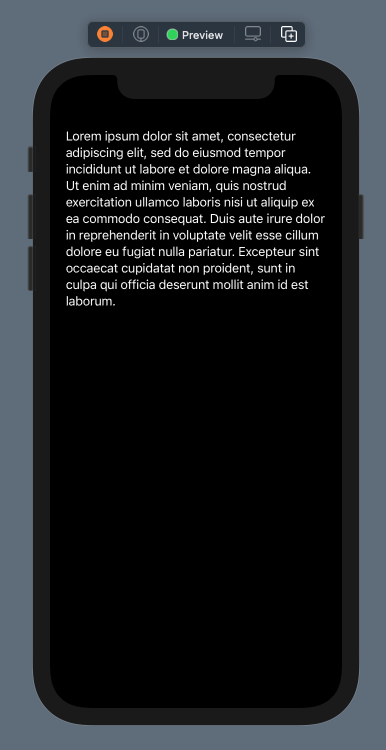
This happens automatically, but the way to work around it is simple; adding some padding will place text in the proper position:
|
1 2 3 4 |
TextEditor(text: $text) .padding() |
Of course, you can set different padding for the horizontal and vertical alignment, as well as for each edge separately:
|
1 2 3 4 5 |
TextEditor(text: $text) .padding(.vertical) .padding(.horizontal, 20) |
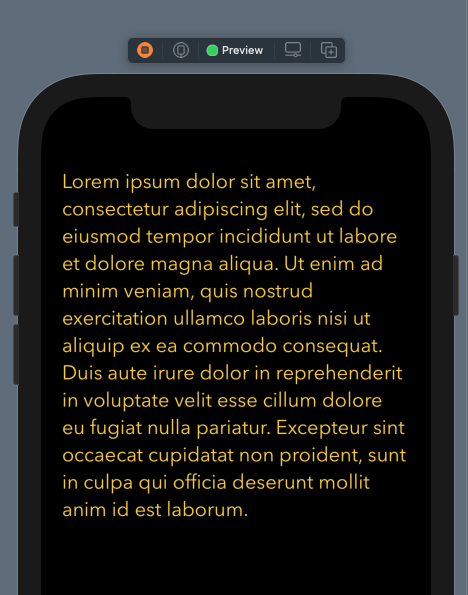
TextEditor can be formatted using all familiar view modifiers that apply to other SwiftUI views as well. For example, it’s easy to set a font or a foreground color:
|
1 2 3 4 5 6 |
TextEditor(text: $text) .padding() .font(Font.custom(“Noteworthy”, size: 20, relativeTo: .body)) .foregroundColor(Color.blue) |
TextEditor and background color
What seems not to be so straightforward is setting the background color of the text editor. Let’s start with the obvious way to do so:
|
1 2 3 4 5 |
TextEditor(text: $text) … .background(Color.green.opacity(0.25)) |
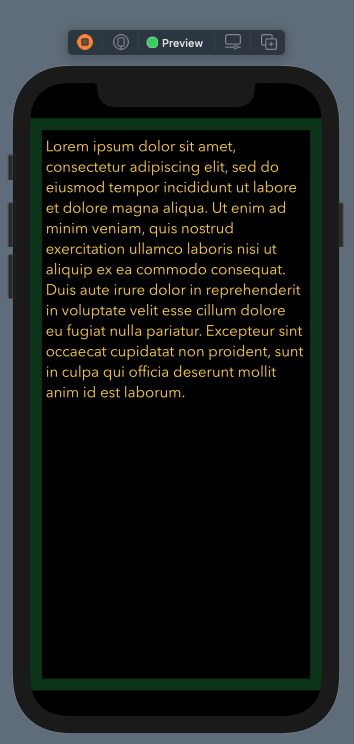
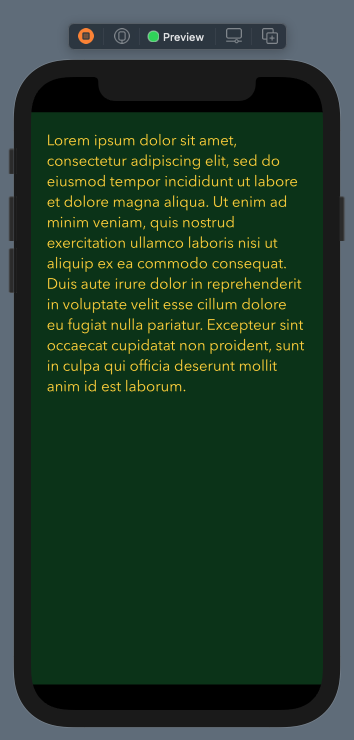
As you can see in the above image, background color affects the padding area, but not the editor’s background; it is still using the default system color.
The reason of the above behavior lies to the fact that TextEditor in based on UITextView. In order to make it possible to apply a custom background, it’s necessary first to remove the default UITextView’s background color. For that purpose, it’s required to explicitly implement the init() method of the view’s structure, and add a single line of code that will do the trick there:
|
1 2 3 4 5 |
init() { UITextView.appearance().backgroundColor = .clear } |
Now the TextEditor can show the custom background color:
Reacting on text changes
Detecting changes on text and reacting on them is pretty easy with TextEditor. Let’s see that through a simple example.
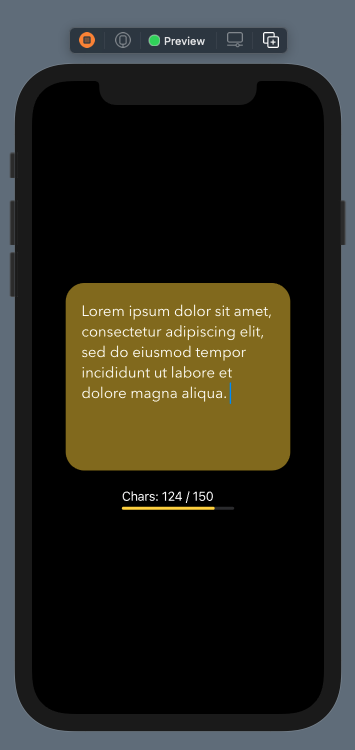
Suppose that you have an app where you want to limit the number of allowed characters to 150. Also, you want to show how many characters have been typed, and indicate it visually with a progress view.
In order to achieve that we’ll need the following three state properties:
|
1 2 3 4 5 |
@State private var text = “” @State private var totalChars = 0 @State private var lastText = “” |
text property will be storing the typed text. totalChars will hold the text length, meaning the number of typed characters, and lastText will store the current text on each change.
Now, let’s put together a TextEditor and a ProgressView in a VStack, doing all the necessary configuration with view modifiers at the same time:
|
1 2 3 4 5 6 7 8 9 10 11 12 13 14 15 16 17 18 |
var body: some View { VStack { TextEditor(text: $text) .padding() .background(Color.yellow.opacity(0.5)) .foregroundColor(Color.white) .font(Font.custom(“AvenirNext-Regular”, size: 20, relativeTo: .body)) .frame(width: 300, height: 250) .cornerRadius(25) ProgressView(“Chars: \(totalChars) / 150″, value: Double(totalChars), total: 150) .frame(width: 150) .padding() .accentColor(.yellow) } } |
See that a specific frame is set to the text editor, while rounding its corners at the same time. The above gives us the following:

In order to track text changes, it’s necessary to use the onChange(of:perform:) view modifier with the TextEditor view:
|
1 2 3 4 5 6 7 |
TextEditor(text: $text) … .onChange(of: text, perform: { text in }) |
The above closure will be called with every single keystroke from now on. Updated text is contained in the text parameter value.
There are two things to do according to the described scenario in this closure; the first is to keep the number of typed characters so the progress view and its label to be updated properly:
|
1 2 3 4 5 |
.onChange(of: text, perform: { text in totalChars = text.count }) |
The second is to check the text’s length. If it’s less than 150 characters, then we just keep current text to the lastText property. Otherwise, we replace any new text with lastText:
|
1 2 3 4 5 6 7 8 9 10 11 |
.onChange(of: text, perform: { text in … if totalChars <= 150 { lastText = text } else { self.text = lastText } }) |
Here is that simple scenario in action:
Summary
Using TextEditor in SwiftUI in order to provide multi-line text editing capabilities is generally a straightforward task. It has a couple of peculiarities as you saw in this post, however, but getting around them is easy. Finally, observing for text changes hides no complexity at all, and it’s the place to implement any custom logic reacting to user input. Note that TextEditor is available in iOS 14 and above, so if you’re aiming on iOS 13 as well then you will need to integrate UITextView too with a custom UIViewRepresentable type. Thank you for reading!
You can find this post published on Medium too!