Text is the most common kind of content that apps contain. We deal with all sorts of text length everyday, but when it comes to long text we often need to cut it off and display just a part of it. Along with that, users usually get an option to expand and view the long text, or collapse and keep it truncated.
In this post I am going to demonstrate two ways that will let you achieve truncation easily, and an additional approach where you can simulate (fake) truncation by fetching and presenting a substring of the original string. As a bonus chapter, I’ll also show you how to expand and collapse truncated text, mostly because truncation and text expansion go together as features into an app.
Truncating text based on number of lines
Initially, let’s begin with a small code example; a Text view that displays some long text:
|
1 2 3 4 5 6 7 8 9 10 11 12 |
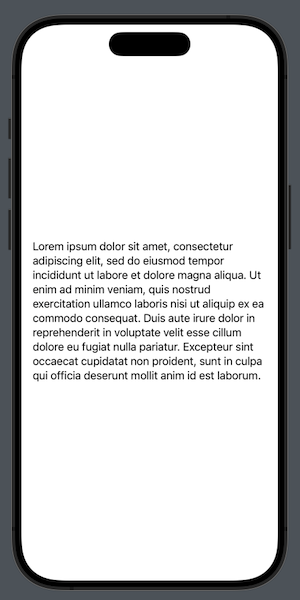
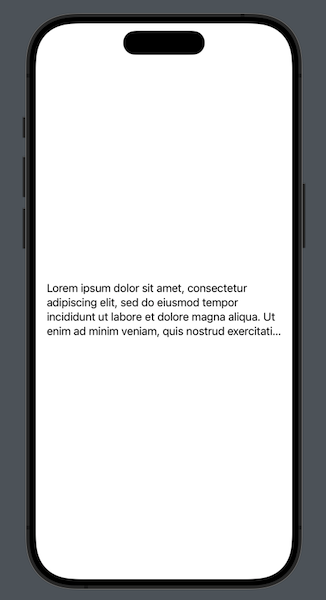
struct ContentView: View { let longText = “Lorem ipsum dolor sit amet, consectetur adipiscing elit, sed do eiusmod tempor incididunt ut labore et dolore magna aliqua. Ut enim ad minim veniam, quis nostrud exercitation ullamco laboris nisi ut aliquip ex ea commodo consequat. Duis aute irure dolor in reprehenderit in voluptate velit esse cillum dolore eu fugiat nulla pariatur. Excepteur sint occaecat cupidatat non proident, sunt in culpa qui officia deserunt mollit anim id est laborum.” var body: some View { VStack { Text(longText) } .padding() } } |
This simple view presents the following result:
The fastest method to truncate this text and show just a part of it is to use the lineLimit(_:) view modifier. Its name says it all; it will allow only the given number of lines to be shown, truncating all other text that does not fit in them. For example, let’s limit text to two lines:
|
1 2 3 4 |
Text(longText) .lineLimit(2) |
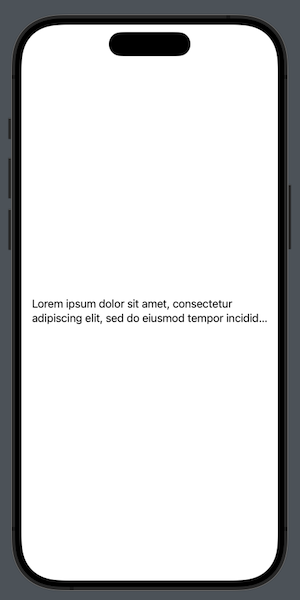
I mentioned earlier that this way to truncate text is the most flexible. The reason for that is that the amount of text that will be displayed depends on the available area given to the text view. So, the above simple addition of lineLimit(_:) will display more text in landscape orientation than in portrait:
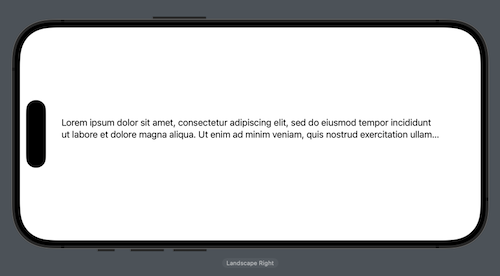
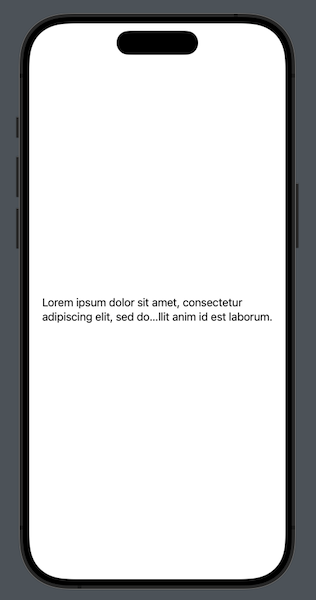
Notice in the screenshots above that the truncation indication is the three dots (ellipsis symbol) in the end of the text above. That symbol is added there by default, but we can choose where exactly the ellipsis will appear with the truncationMode(_:) view modifier. There are three possible options to choose from; head, middle and tail. The following sets the truncation mode to middle:
|
1 2 3 4 5 |
Text(longText) .lineLimit(2) .truncationMode(.middle) |
Truncating text using the frame
Another, sometimes handy, some other times not so useful way to truncate text is by controlling and limiting the frame of either the Text view or its container view. We can specify a particular width, height, or both. In the following code we set the height of the Text view to 100 points, and as a result, we get just a part of the text:
|
1 2 3 4 |
Text(longText) .frame(height: 100) |
Once again, we can control the appearance of the truncated text and the position of the ellipsis symbol with the truncationMode(_:) view modifier.
Limiting the number of displayed characters
What you read previously results to truncated text but it’s based either on the number of available lines or the frame. It’s also possible to fake text truncation by limiting the number of displayable characters, or in other words, by displaying just a substring of the original long string. How we manage that depends on the part of the string we’d like to be visible, with the easiest parts being the beginning or the end of the string.
For instance, let’s suppose we’d like to display only the first 80 characters of the string. We can use the prefix(_:) view modifier like so:
|
1 2 3 |
Text(longText.prefix(80)) |
On the contrary, to get the last 80 characters there’s the suffix(_:) view modifier to apply instead:
|
1 2 3 |
Text(longText.suffix(80)) |
Note: There are variations of the last two view modifiers demonstrated above. Try them out to see what fits you the best.
Things become more tricky when we want to extract a substring that does not start from the beginning or does not end to the end of the original string. In such cases, we have to specify the range of the substring we want to get. In Swift we use the startIndex, endIndex, and the various flavors of the index String instance method in order to create ranges of substrings.
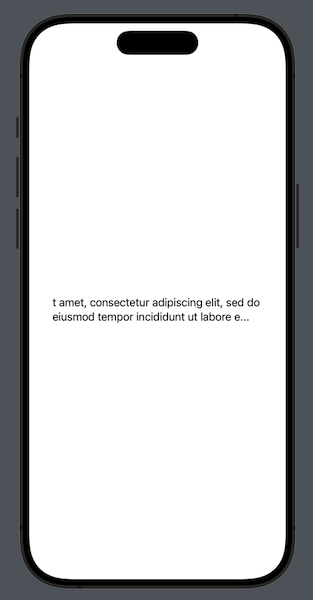
Say, for instance, that we need to get 80 characters from the original string, starting from the 20th position. For readability and clarity reasons, first we specify the limits of the range in the following code segment, and then we use them to get the desired substring:
|
1 2 3 4 5 |
let from = longText.index(longText.startIndex, offsetBy: 20) let to = longText.index(from, offsetBy: 80) Text(longText[from…to]) |
Getting a substring out of a string is not truncation. For that reason, the ellipsis symbol won’t appear automatically in the end (or anywhere else) of the resulting string. Regardless, we can manually add it to our text and therefore mimic the behavior of a truncated text:
|
1 2 3 |
Text(longText[from…to] + “…”) |
Bonus Content – Expanding and collapsing truncated text
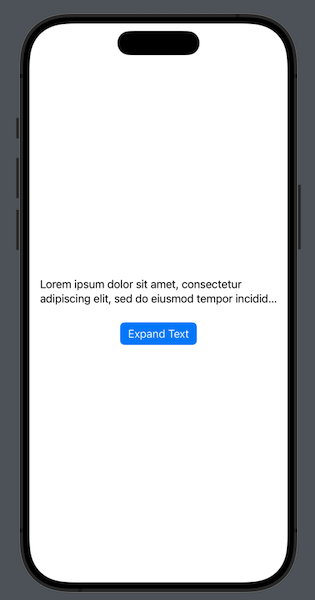
Presenting truncated text is usually meaningless (unless certain cases), so most of the times we need a mechanism that will expand and collapse it. The strategy to manage that depends on how we choose to truncate, or use a substring of the original string. In the example next I’m demonstrating how to expand text that was truncated by limiting the Text view lines. In a similar fashion you act for the other cases as well.
The first thing we need is a state property that will control the expanded or collapsed state of the text:
|
1 2 3 |
@State private var expandText = false |
Also, we need a button to toggle the above property:
|
1 2 3 4 5 6 7 |
Button(!expandText ? “Expand Text” : “Collapse Text”) { expandText.toggle() } .buttonStyle(.borderedProminent) .padding(.top) |
Finally, we’ll update the argument in the lineLimit(_:) view modifier based on the value of the expandText property:
|
1 2 3 4 |
Text(longText) .lineLimit(!expandText ? 2 : nil) |
If the text is not expanded then the Text view will show only two lines. The nil value means that no limit should apply to the displayed lines. Here’s the example view all together with the steps presented here:
|
1 2 3 4 5 6 7 8 9 10 11 12 13 14 15 16 17 18 19 20 21 |
struct ContentView: View { let longText = “Lorem ipsum dolor sit amet, consectetur adipiscing elit, sed do eiusmod tempor incididunt ut labore et dolore magna aliqua. Ut enim ad minim veniam, quis nostrud exercitation ullamco laboris nisi ut aliquip ex ea commodo consequat. Duis aute irure dolor in reprehenderit in voluptate velit esse cillum dolore eu fugiat nulla pariatur. Excepteur sint occaecat cupidatat non proident, sunt in culpa qui officia deserunt mollit anim id est laborum.” @State private var expandText = false var body: some View { VStack { Text(longText) .lineLimit(!expandText ? 2 : nil) Button(!expandText ? “Expand Text” : “Collapse Text”) { expandText.toggle() } .buttonStyle(.borderedProminent) .padding(.top) } .padding() } } |
Conclusion
Truncating text is an easy job in SwiftUI and now you know how to do it when you will need it. In addition to that, you read in this post how to also fake truncation by displaying just a substring of the original string, something that can be proved useful in certain scenarios. And as a bonus, you also read how to expand and collapse truncated text, because most of the times that action follows text truncation. I hope you’ll find all these useful and apply them successfully in your projects.
Thanks for reading!