Text plays an essential role in creating intuitive user interfaces and delivering great user experiences in applications. No matter if it’s static or text that users input in text fields and text views, its appearance vastly defines how it’s perceived by users and how well it conveys its message.
There are various ways to alter text’s appearance in SwiftUI. Changing the font style, family, weight, size, or color are the most common interventions of that kind that developers can make. But often, simply modifying the text case or specifying a non-default capitalization rule on user input may have a great level of impact in the overall user experience.
SwiftUI provides two distinct view modifiers in order to set a different text case and capitalization format. They might sound similar up to some level, but the truth is that each one has its own purpose and serves a different cause. So, it’s important to know their details, as well as when and how to use these modifiers.
Changing the text case in static text
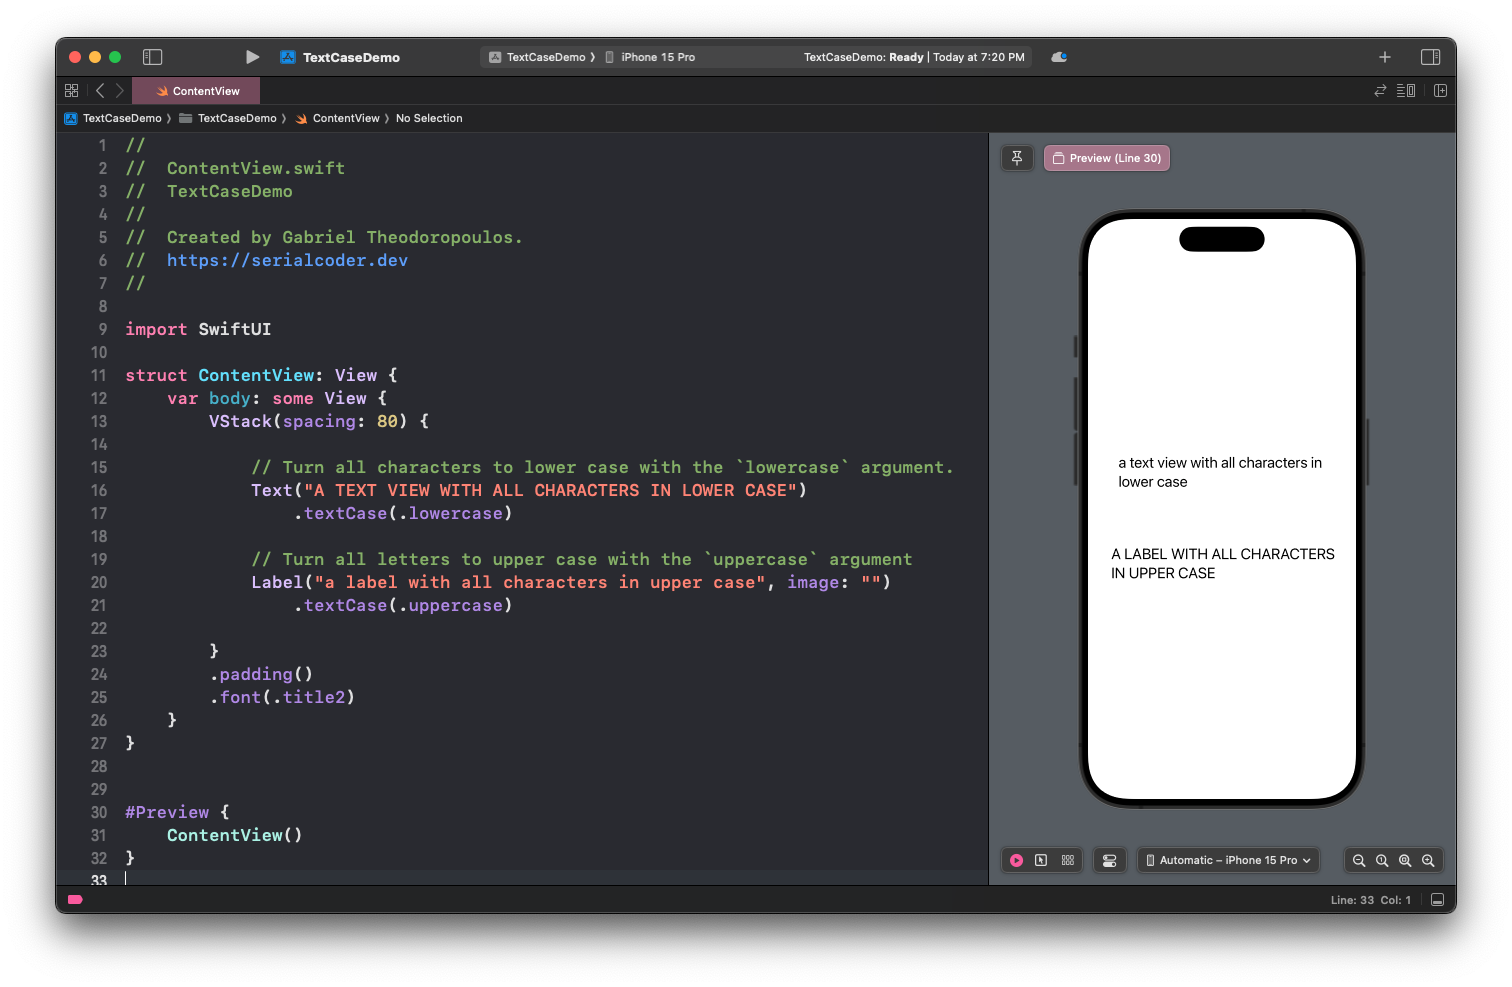
By default, text displayed in Text views and Labels can contain both capital and small letters. It might be necessary sometimes, though, to convert and maintain that content to either lower or upper case.
The textCase(_:) view modifier in SwiftUI makes that task possible easily, as it actually forces the proper transformation depending on the argument given to it. That can be:
lowercase: All characters are displayed in lower case, disregarding any upper cased characters that might exist in the original text.uppercase: The exact opposite to above, all characters are in upper case. Lower cased characters are converted to upper cased.none: It indicates the absence of a preference, and therefore it’s the same astextCase(_:)modifier is missing at all. This argument is useful in case you want to change the text case conditionally.
The following snippet synopsizes lowercase and uppercase:
|
1 2 3 4 |
Text(“HELLO WORLD”).textCase(.lowercase) // “hello world” Text(“hello world”).textCase(.uppercase) // “HELLO WORLD” |
textCase(_:) modifier is most suitable for views that display static text, such as Text views and Labels. It can also be applied to text fields, but text transformation might not be enforced instantly, even at all sometimes. Don’t worry about that, however, as the solution regarding the latter comes in the next part.

Changing auto-capitalization rules to text input views
Besides those mentioned above, other views that can also display text are the TextField and TextEditor (text view). But these two can also accept user input, and for them there is another view modifier to use in order to change the text case. In fact, it’s more powerful than textCase(_:) as there is a larger set of arguments to choose from, something that eventually gives us more options for customization.
That view modifier is the textInputAutocapitalization(_:). Let’s get to know it through a few simple examples. The following code snippet demonstrates how to convert all characters of the input string in a text field to upper cased:
|
1 2 3 4 |
TextField(“”, text: $text) .textInputAutocapitalization(.characters) |
On the other end, the following forces the input text to appear in lower cased characters:
|
1 2 3 4 |
TextField(“”, text: $text) .textInputAutocapitalization(.never) |
It’s also possible to make upper cased only the first character of each word:
|
1 2 3 4 |
TextField(“”, text: $text) .textInputAutocapitalization(.words) |
It remains one more option which matches to the default behavior; auto-capitalize the first character of each sentence.
|
1 2 3 4 |
TextField(“”, text: $text) .textInputAutocapitalization(.sentences) |
If that’s the behavior you’re looking for, then there’s no need to apply the textInputAutocapitalization(_:) view modifier. It exists, though, in case you need to alter the capitalization rules conditionally.
To summarize, the following are all the available options for the textInputAutocapitalization(_:) view modifier:
senteces: Auto-capitalization is applied to the first character of each sentence, i.e. at the beginning of the text and after every period. That’s also the default behavior in text input views.words: The first character of each word is turned to upper cased.characters: All characters in given text are converted to upper cased.never: All characters are converted to lower cased.
Note that the textInputAutocapitalization(_:) modifier works for TextEditor too, besides the TextField. Keep in mind the following, however:
Even though the system will apply the auto-capitalization rule that you will specify, users can still press the Shift button in the keyboard and change the text case of one or more characters.
To put it in a different perspective, textInputAutocapitalization(_:) view modifier modifies the default behavior of the Shift key in the keyboard, and users can override that behavior by simply pressing on it for as many characters as they want. Regardless, it’s a handy modifier to resort to when it’s necessary to let a different default text case while users type in.
The following short video illustrates textInputAutocapitalization(_:) view modifier:
Conclusion
SwiftUI makes available two useful view modifiers in order to change the default text case in views that present both static and user input text. Use them as you see them fit, and don’t hesitate to mix them with other modifiers that also change text’s appearance. Don’t be too excessive and lose the meaning of such kind of text modifications, but make sure you add both view modifiers presented in this post under your tool belt. Thanks for reading! ?